...Chicken dinner!
Here's what I made tonight, only without pictures, because the kitchen was a mess.
Pot roasted chicken with warm lentil salad
you will need-
1 whole chicken
2 large onions
2 large carrots
1 large leek
1 tin tomatoes
For the salad-
2 shallots
about a dozen or so cherry tomatoes
1 red pepper
150g puy or green lentils
2 tbsp white wine vinegar
1 tbsp worcestshire sauce
1 tbsp soy sauce
2 tsp grain mustard
So, first things first, get the oven on at about 190c before you get your chicken on the go- Roughly chop your veg and toss them into a large casserole dish with some olive oil over a medium high heat. Cook those until the onion has softened a bit, and the leek has wilted. At this point toss in the tin of tomatoes, and a half-tin's worth of water. Also, add any herbs you might have lying about. I added thyme and oregano, but rosemary would be good as well, or if you fancied something a bit different, maybe some chilli and cumin. Really whatever you fancy. When that has come up to a simmer, pop the chicken in. Whole. Just smoosh it down into things so it's nestled nicely into the veggies. Then pop a lid on and throw it in the oven. Because you're cookign it with liquids in there and at a moderately low temperature, you don't really have to worry about it overcooking as it'll still have lots of tasty juices in there to keep it moist, so about 2 hours or so should be good.
Then make the salad, which is simple as anything- just cook the lentils so they're nicely al dente, drain them and set to one side. Into a large bowl finely shred the shallots and pepper, and chut the tomatoes into 1/2 or 1/4 and throw them in as well. Then to make the dressing, simply mix together the vinegar, mustard, worcestershire and soy. Add salt, pepper and possibly a spot of sugar to taste. When you're ready to serve heat the dressing up and mix it into the lentils before adding the other ingreients and you have a nice tasty warm salad.
Serve up with some rice and there you have a tasty, simple dinner that (hopefully) will keep everyone fed and happy.
Monday 26 September 2011
Sunday 6 March 2011
More baking!
This time it's savoury baking though, in the form of some rather tasty cheese and onion corn muffins. These are really simple and tasty, so no excuses!
For these you will need
100g Corn Meal
125g Plain Flour
25g Sugar
3 tsp Baking Powder
A pinch of salt
1 Egg (not pictured because I forgot it)
100g Butter
1/2 a pint of milk
4 Spring Onions
100g Strong Cheddar
Muffin tin
Baking cases

Start by preheating your oven to 180c. Then mix all your dry ingredients together in a large bowl. Easy enough-

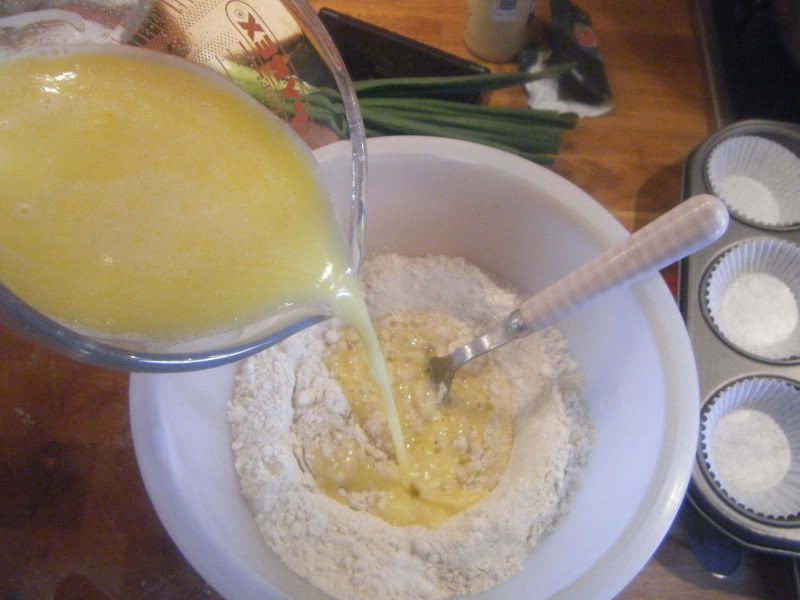
Then in a seperate bowl / jug melt your butter, add the milk and whisk in the egg-

Mix it into the dry mixture-
Until a smooth batter is formed. It may seem a little loose, but trust me, give it a good stir for a couple of minutes and it will stiffen up quite a bit-
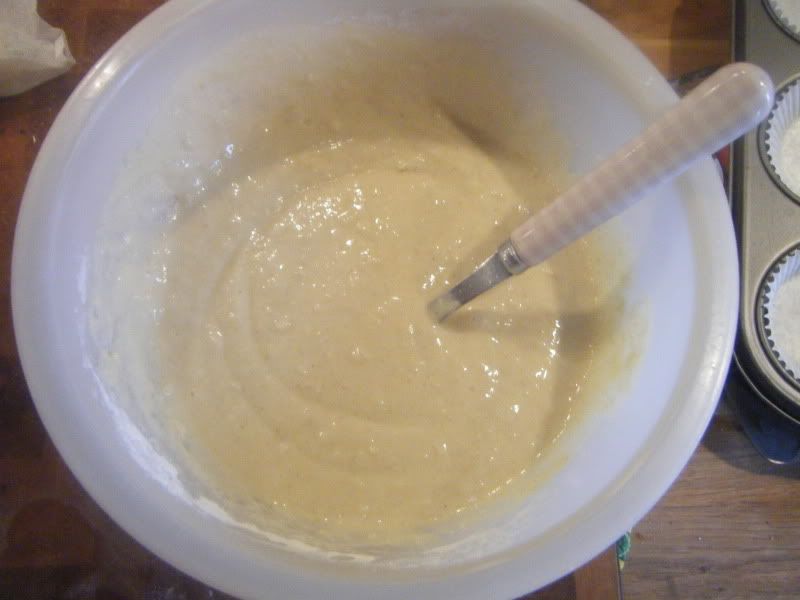
Grate in your cheese and chop in your spring onions and mix them in well-
(pretend I put a picture of this stage here and didn't totally forget to take one)
Then pour the mixture into your lined muffin tins-

And bake for 20-25 minutes until golden brown and a skewer poked into the middle comes out clean-

Nom down. We had these for breakfast, and they were delicious, but I am thoroughly convinced they would go fantastically as an accompaniment to chilli.
For these you will need
100g Corn Meal
125g Plain Flour
25g Sugar
3 tsp Baking Powder
A pinch of salt
1 Egg (not pictured because I forgot it)
100g Butter
1/2 a pint of milk
4 Spring Onions
100g Strong Cheddar
Muffin tin
Baking cases
Start by preheating your oven to 180c. Then mix all your dry ingredients together in a large bowl. Easy enough-
Then in a seperate bowl / jug melt your butter, add the milk and whisk in the egg-
Mix it into the dry mixture-
Until a smooth batter is formed. It may seem a little loose, but trust me, give it a good stir for a couple of minutes and it will stiffen up quite a bit-
Grate in your cheese and chop in your spring onions and mix them in well-
(pretend I put a picture of this stage here and didn't totally forget to take one)
Then pour the mixture into your lined muffin tins-
And bake for 20-25 minutes until golden brown and a skewer poked into the middle comes out clean-
Nom down. We had these for breakfast, and they were delicious, but I am thoroughly convinced they would go fantastically as an accompaniment to chilli.
Wednesday 2 March 2011
Tasty treats part 2- Fruity Oaty Bars
Okay. Now that's out of the way. Here is what you will need-
250g butter
200g light brown sugar
75g caster sugar
2 eggs 1 tsp vanilla
150g flour
1/2 tsp bicarbonate of soda
1 tsp salt
260g oats
100g pecans (or walnuts or any kind of nut you want really)
100g sultanas (or dried cranberries or any kind of dried fruit you want really. Or chocolate chps even, ooh, yeah, that's a good idea. Those would be good...)
1 tbsp plain yoghurt
100g icing sugar

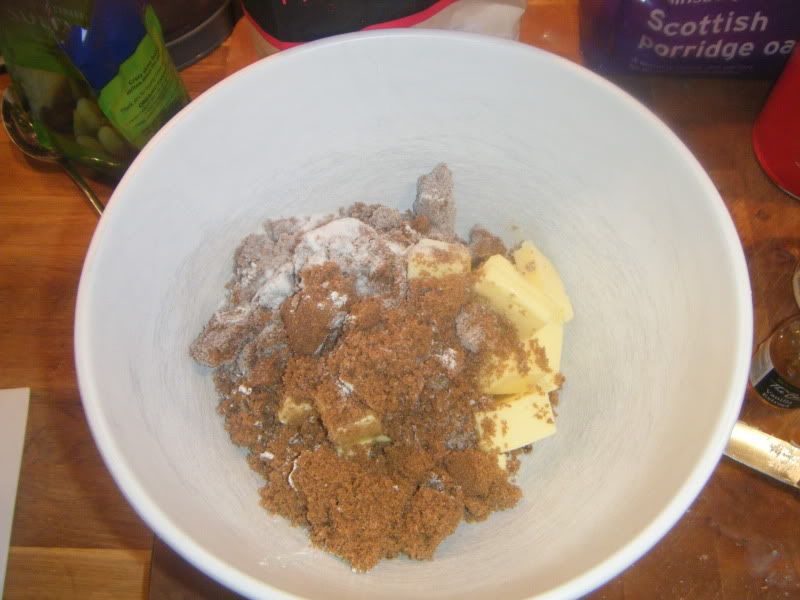
Start by preheating your oven to 170c then mixing together the butter, brown sugar and caster sugar
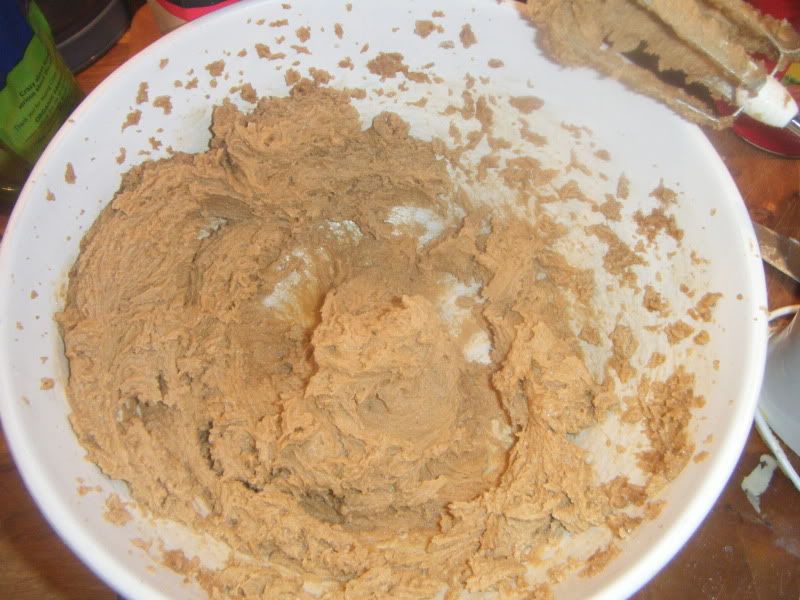
Until thoroughly mixed and light and fluffy. Add the eggs one by one, mixing them in thoroughly and the vanilla, if it starts to split add a spoonful of the flour and that should stop it in it's tracks.
Throw in the flour, salt and bicarb then mix it all in-
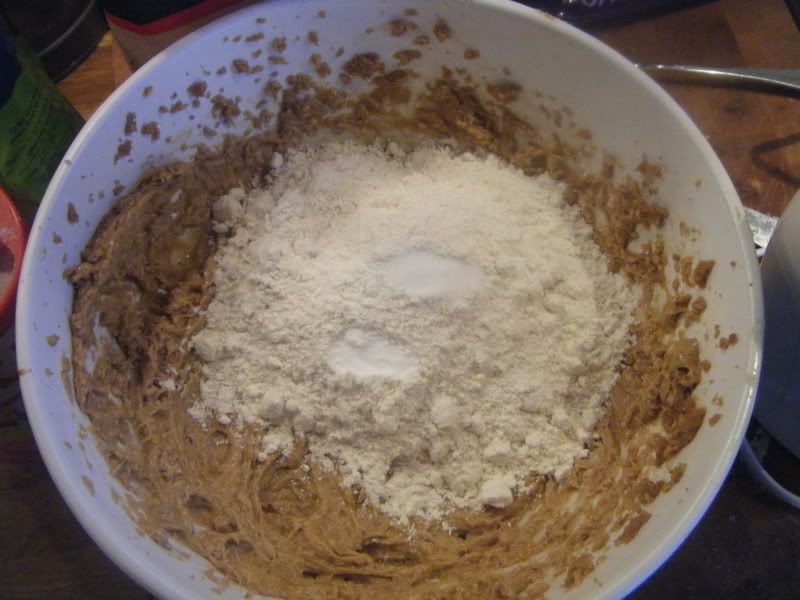
Add in the oats-

Then the dried fruit-

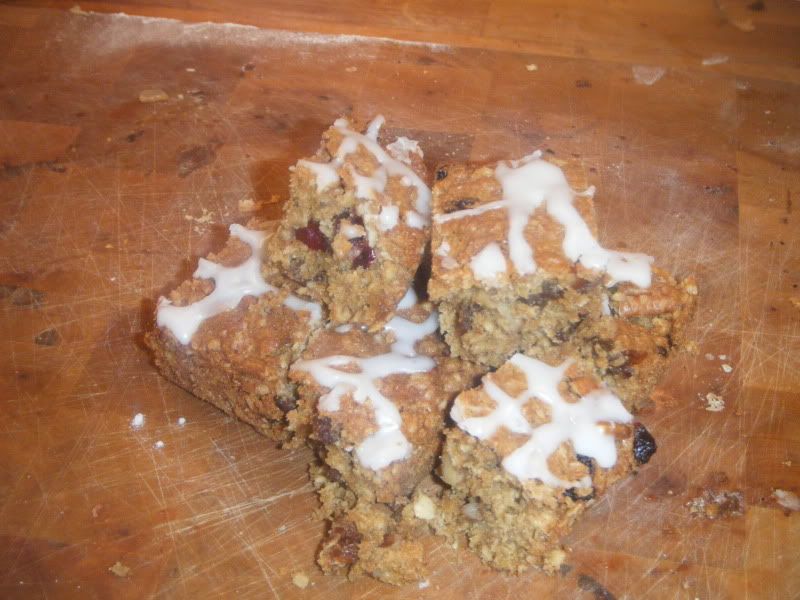
Pour into a greased, lined baking dish and pop into the oven for 20-25 minutes, or until golden brown.

Allow to cool thoroughly, then make an icing by mixing together the yoghurt and icing sugar and drizzle over the top. Cut into pieces and enjoy. I hope.
250g butter
200g light brown sugar
75g caster sugar
2 eggs 1 tsp vanilla
150g flour
1/2 tsp bicarbonate of soda
1 tsp salt
260g oats
100g pecans (or walnuts or any kind of nut you want really)
100g sultanas (or dried cranberries or any kind of dried fruit you want really. Or chocolate chps even, ooh, yeah, that's a good idea. Those would be good...)
1 tbsp plain yoghurt
100g icing sugar
Start by preheating your oven to 170c then mixing together the butter, brown sugar and caster sugar
Until thoroughly mixed and light and fluffy. Add the eggs one by one, mixing them in thoroughly and the vanilla, if it starts to split add a spoonful of the flour and that should stop it in it's tracks.
Throw in the flour, salt and bicarb then mix it all in-
Add in the oats-
Then the dried fruit-
Pour into a greased, lined baking dish and pop into the oven for 20-25 minutes, or until golden brown.
Allow to cool thoroughly, then make an icing by mixing together the yoghurt and icing sugar and drizzle over the top. Cut into pieces and enjoy. I hope.
Tasty treats part 1- Brownies.
Today some tasty teatime/ lunchtime/ whenever you're peckish treats.
First up, some rather tasty chocolate and dulce de leche brownies. For these you will need-
140g Butter
200g Soft brown / muscavado sugar
200g Chocolate
85g Plain flour
A pinch of salt
3 Eggs
1 tsp Vanilla
A can of condensed milk

First up- Pop the oven on to preheat to 160c
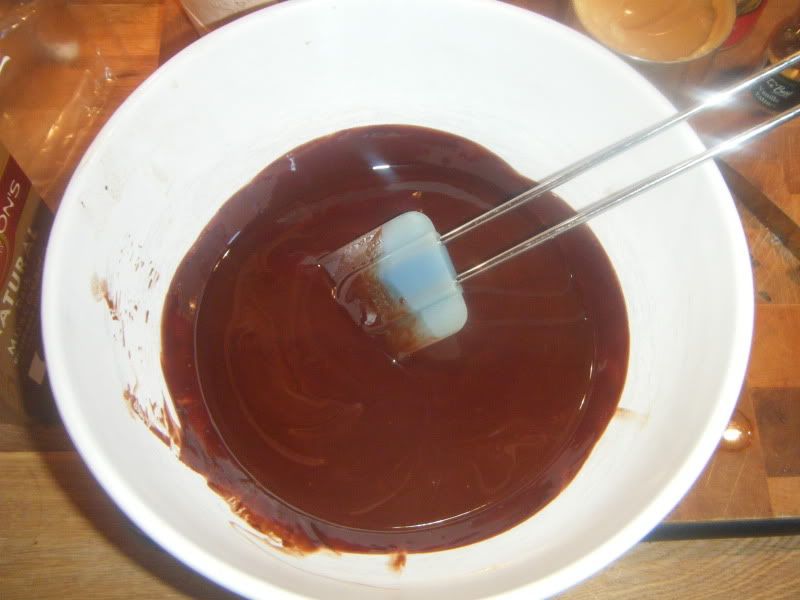
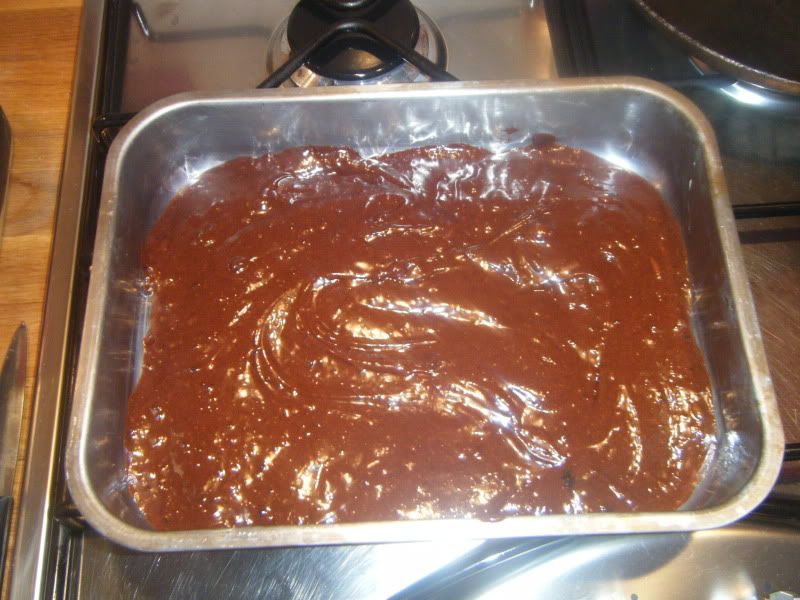
Then get started by melting together the butter and chocolate, either over a double boiler or in 30 second bursts in the microwave so it goes from this

To this-
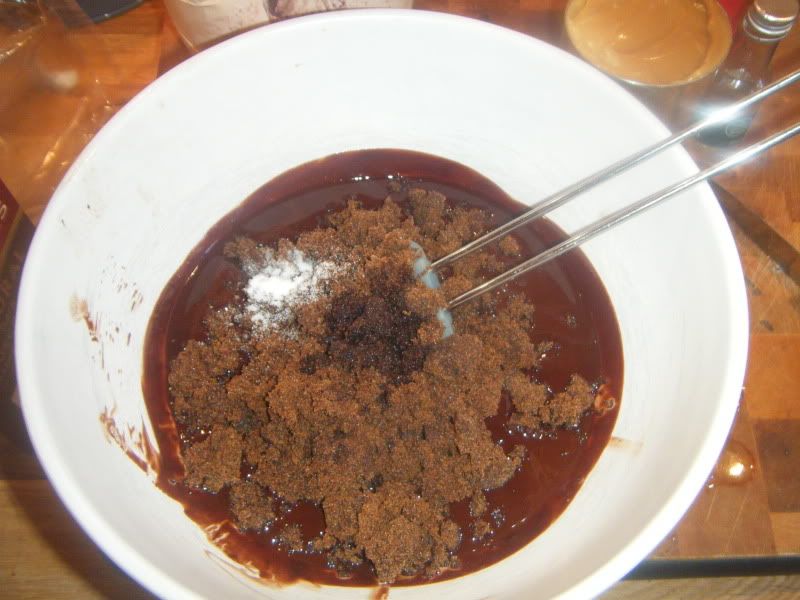
Add the sugar and mix that in well,
Then one by one add the eggs, mixing them in thoroughly, then the flour, making sure everything is incorporated thoroughly into a smooth batter-

Pour half into a lined and greased tray-
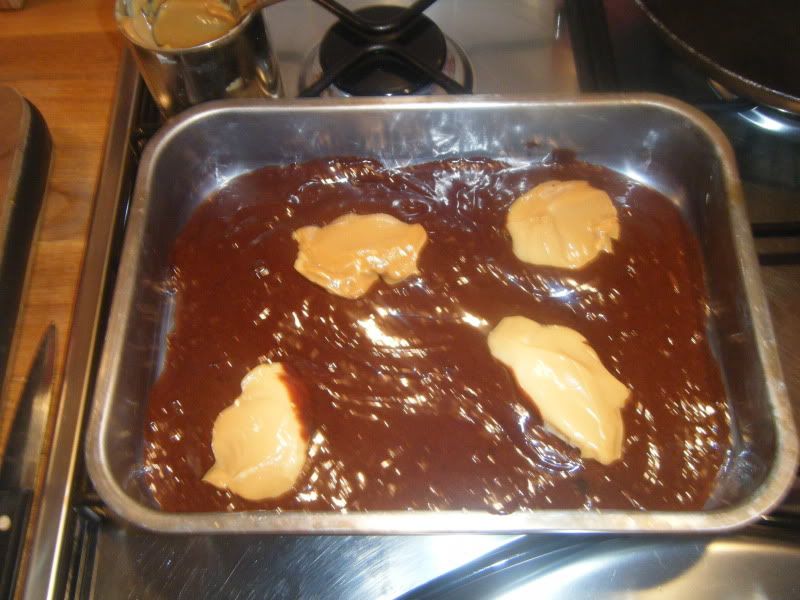
then add dollops of the dulce de leche around it. To make this you simply drop your can of condensed milk unopened into a pan full of simmering water and leave it for about 2 1/2-3 hours. Don't worry, so long as you keep the water topped up and don't let it boil dry the can won't explode.-
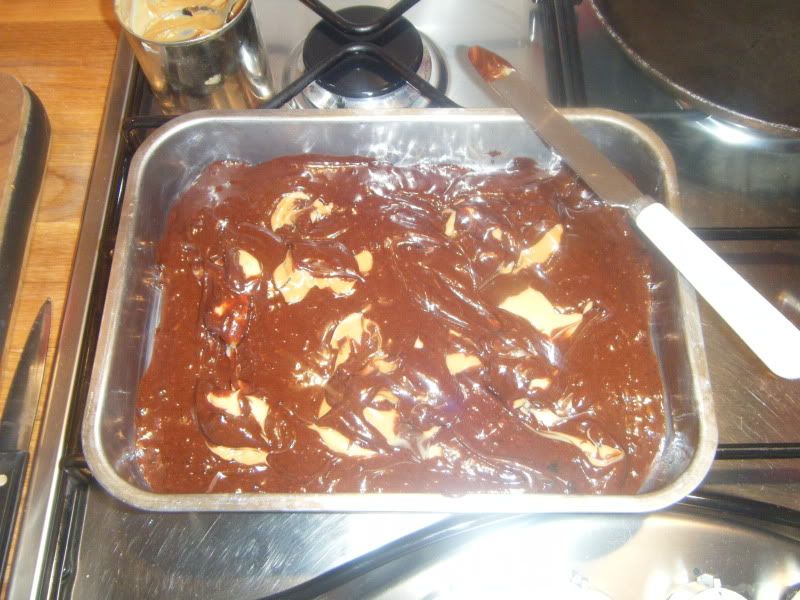
Then run a knife through it, marbling the caramel into the chocolate, before adding the other half of the batter. Repeat with the marbling on the top if you want to, don't if you don't.
Pop into the oven for 40-45 minutes until a skewer poked into the middle comes out with crumbs rather than batter sticking to it-
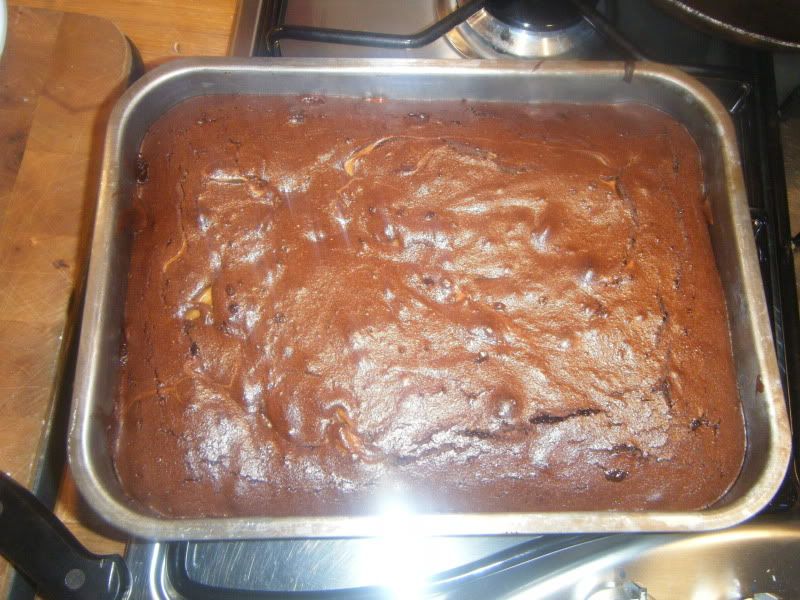
chop into bits and nom down with a cup of tea. Or coffee. Your choice, I'm not here to judge-
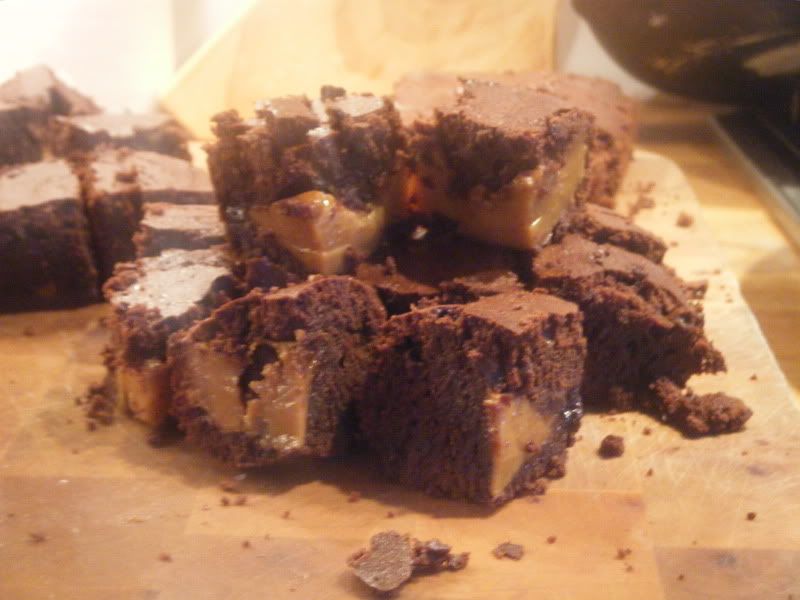
First up, some rather tasty chocolate and dulce de leche brownies. For these you will need-
140g Butter
200g Soft brown / muscavado sugar
200g Chocolate
85g Plain flour
A pinch of salt
3 Eggs
1 tsp Vanilla
A can of condensed milk
First up- Pop the oven on to preheat to 160c
Then get started by melting together the butter and chocolate, either over a double boiler or in 30 second bursts in the microwave so it goes from this
To this-
Add the sugar and mix that in well,
Then one by one add the eggs, mixing them in thoroughly, then the flour, making sure everything is incorporated thoroughly into a smooth batter-
Pour half into a lined and greased tray-
then add dollops of the dulce de leche around it. To make this you simply drop your can of condensed milk unopened into a pan full of simmering water and leave it for about 2 1/2-3 hours. Don't worry, so long as you keep the water topped up and don't let it boil dry the can won't explode.-
Then run a knife through it, marbling the caramel into the chocolate, before adding the other half of the batter. Repeat with the marbling on the top if you want to, don't if you don't.
Pop into the oven for 40-45 minutes until a skewer poked into the middle comes out with crumbs rather than batter sticking to it-
chop into bits and nom down with a cup of tea. Or coffee. Your choice, I'm not here to judge-
Sunday 13 February 2011
Diet free zone
So, today I made croissants. Rich buttery croissants. With cheese in. And Marmite. And now I'll show you how to as well. Although you can feel free to leave out the Marmite if you're a colonial or Marmite hating deviant.
You will need-
Milk.
Flour (note that this is just plain flour rather than white bread flour)
Yeast
A metric fuckton of butter. Well, maybe a packet or so
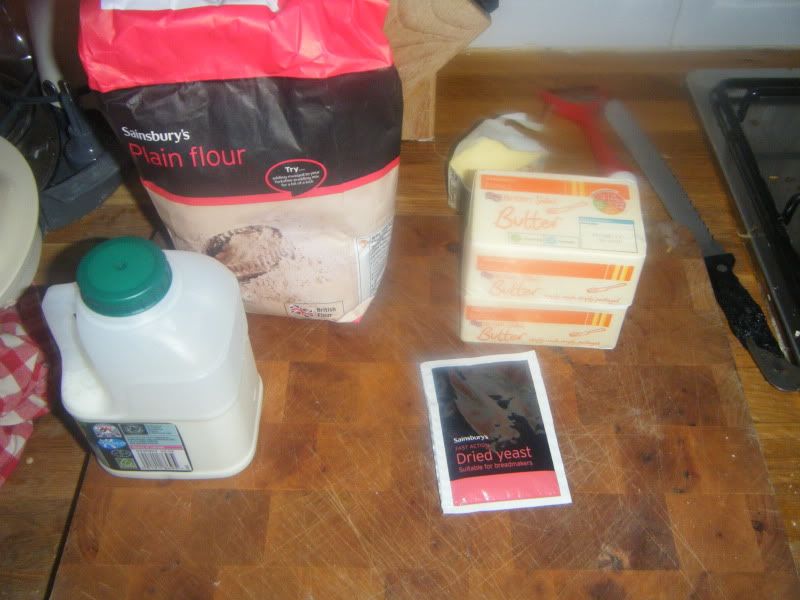
This will make you about 8-10 decent sized croissants.-
Take 1/2 a pint of milk and warm it to about body temperature, add about 50g of melted butter and stir in your sachet of yeast. Sprinkle some flour on the top and leave it to get started, this will take about 25-30 minutes.
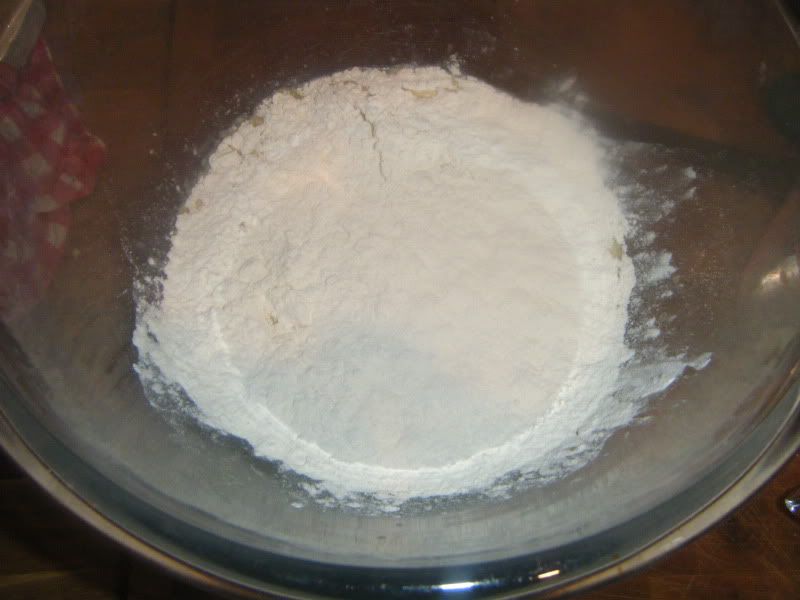
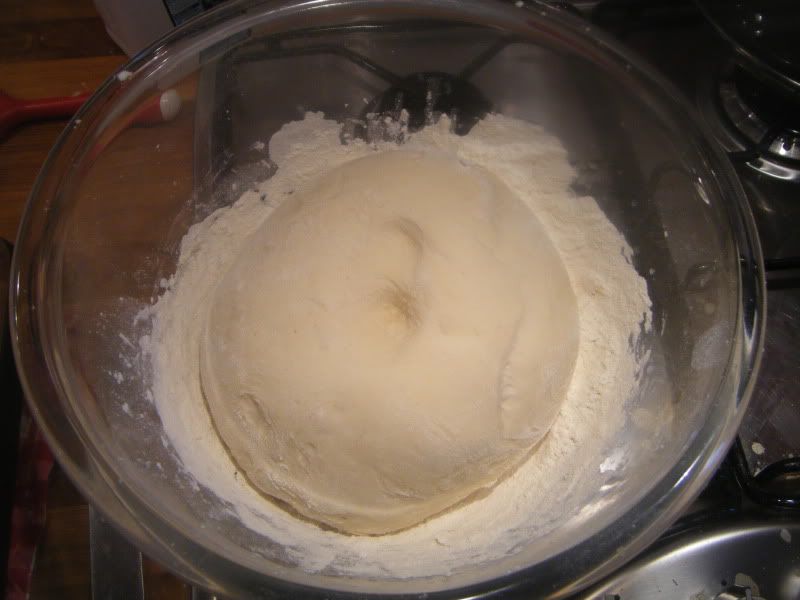
Once this has started bubbling away and showing signs of life, add more flour and thoroughly incorporate it into a dough. Leave it for another 30-40 minutes or so to prove.
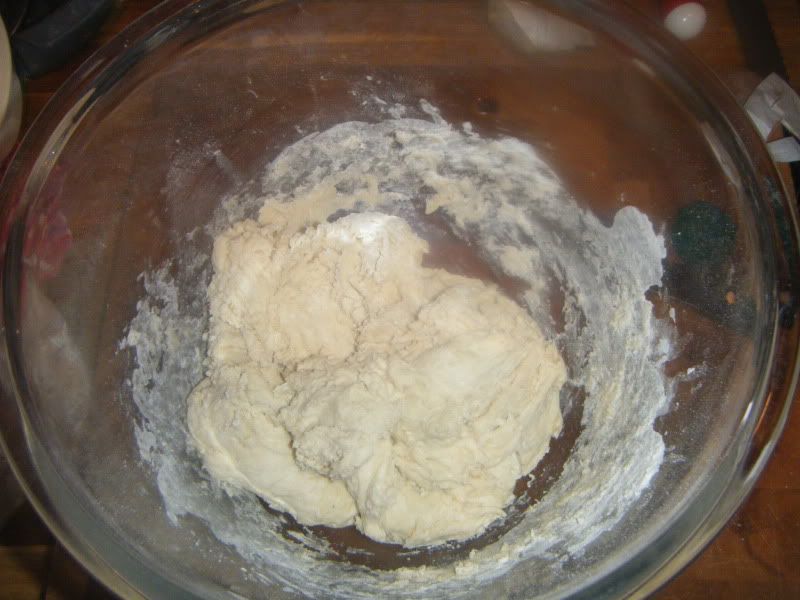
Once this has been done turn it out onto a well-floured surface and knead it well, incorporating more flour into it until you end up with a smooth, pliable dough.
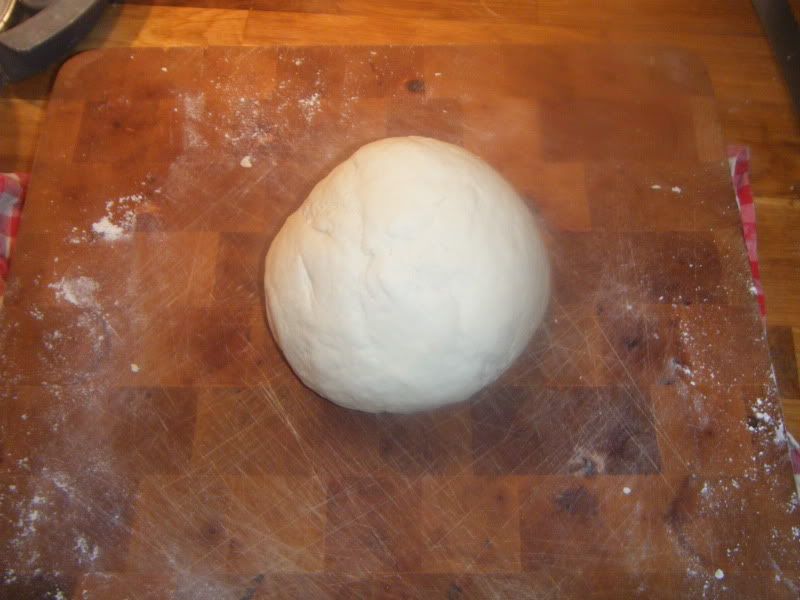
Set this aside for another 30-40 minutes or so, or until it has about doubled in size.
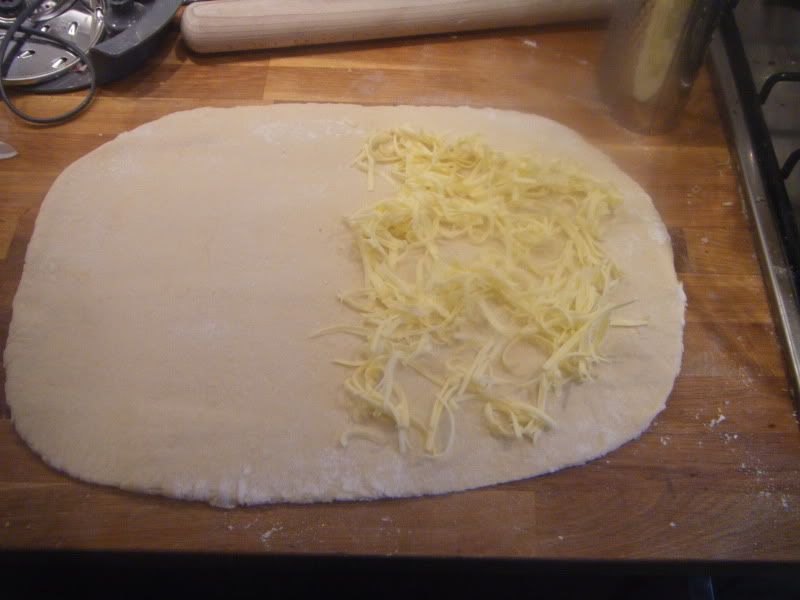
Now the fun bit- turn your dough out onto a well floured surface and roll it out into a rectangle roughly twice as long as it is wide.

Now cover half of the dough with butter. There are several ways of doing this. The traditional method is to prepare your butter by pounding it with a tiny amount of flour until enough air has been incorporated to allow it to spread even when cold. Some people say you should melt and clarify your butter then re-refrigerate it as thin sheets on lined baking trays so you can simply cut off an appropriate sized sheet. Me, I cheat and take some butter that I've had sitting in the freezer for about 20 minutes over the rough holes of a box grater. There we are, dough covered, fuss saved.
Now simply fold your dough across, turn it 90 degrees, and roll it out again.
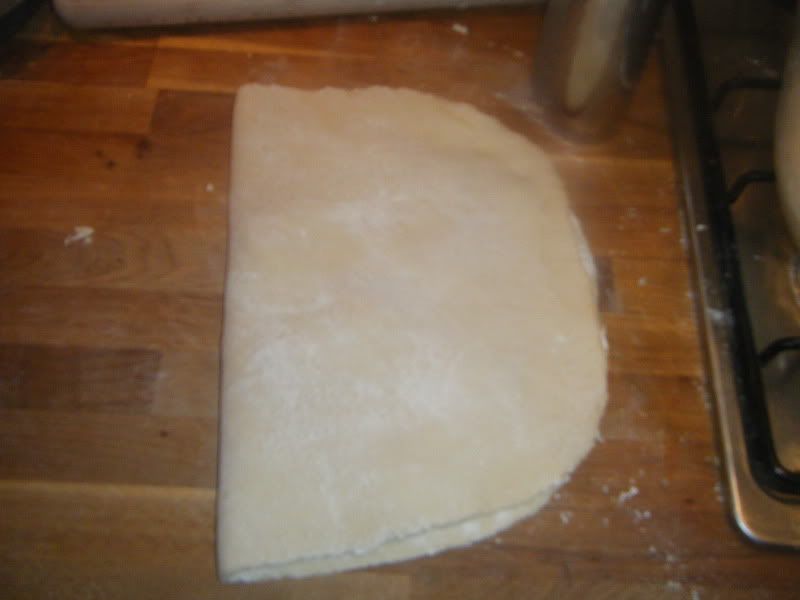
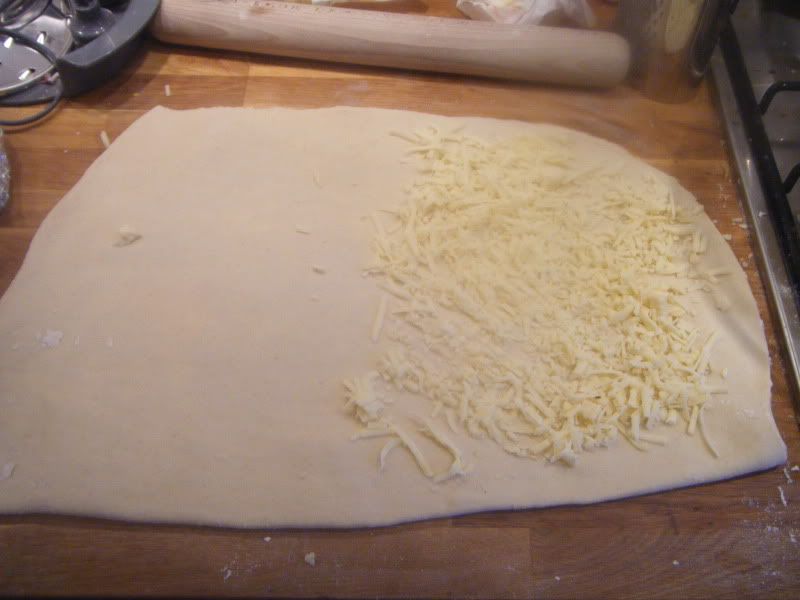
Repeat with the butter, folding and rolling a couple more times before mixing it up a little. On the 3rd roll I decided to add some tasty mature cheddar instead of butter-
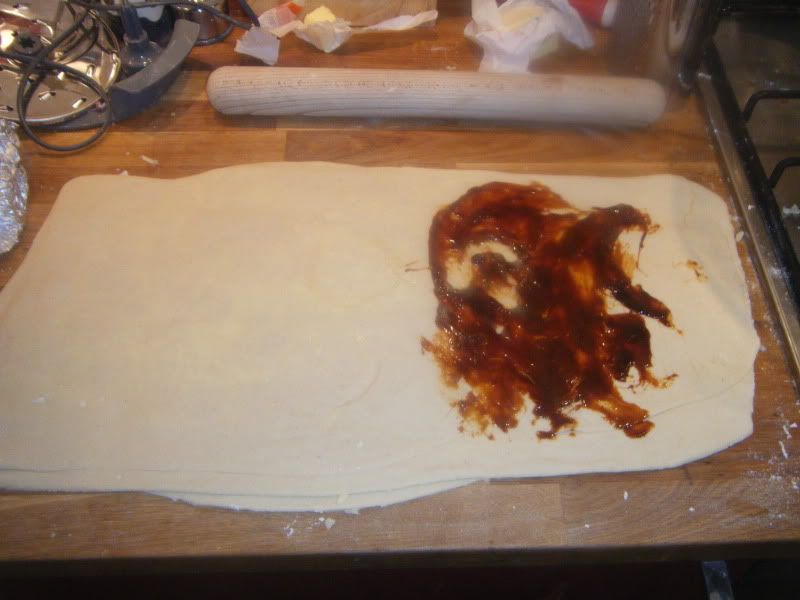
And on the 4th some Marmite (protip- if you spoon it into a ramekin then microwave it for 10 seconds it spreads much more easily)
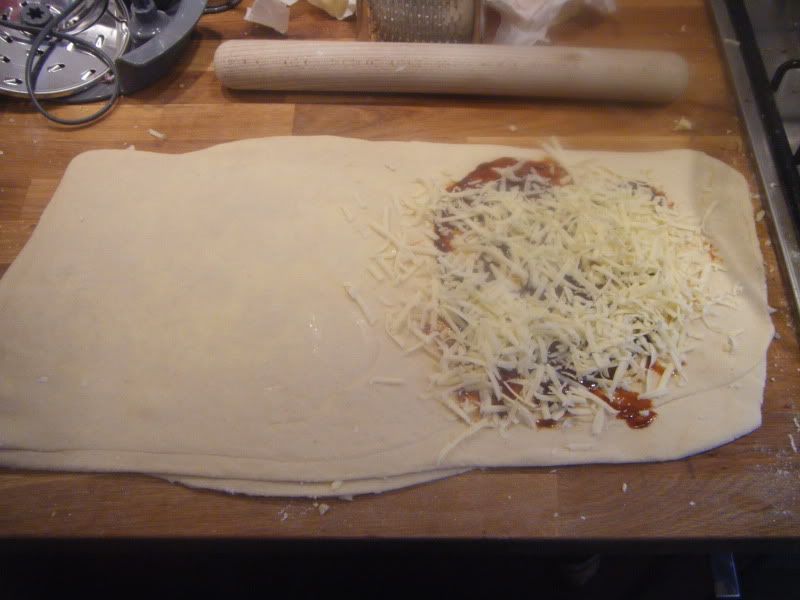
And some more cheese-
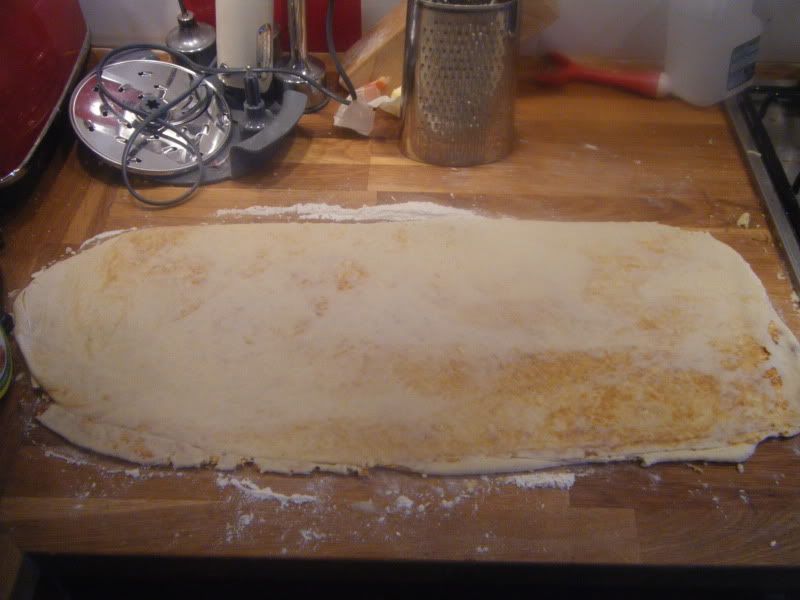
Then it's just a matter of rolling, folding and turning it a few more times. I'll be honest, I lost count of how many times I did it (I think around 8-10) but the more ties you do, the flakier your croissants will be. If at any point the dough starts to feel sticky and loose, just dust it with flour and pop it in the freezer for a few minutes to chill.
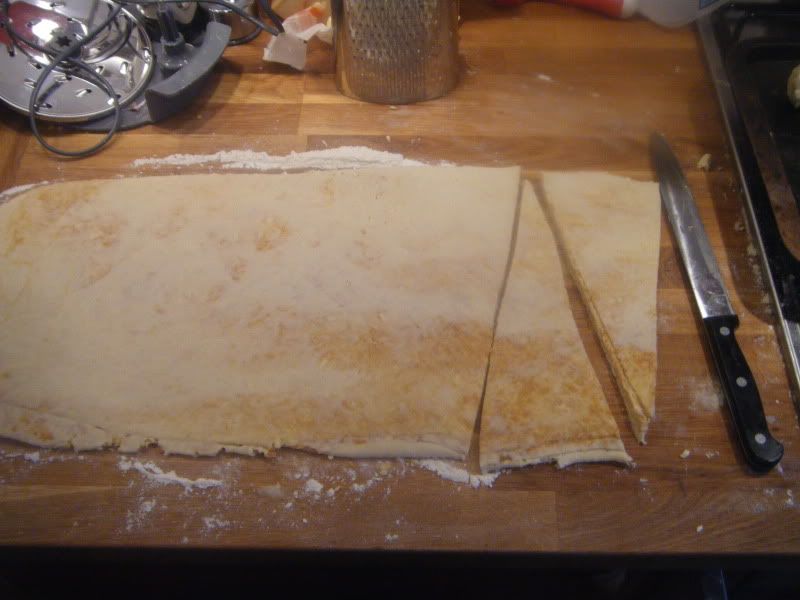
Anyway, once you're sick of rolling folding and turning, roll it out into a long oblong and start cutting it into triangles using a sharp knife or pizza cutter. Then shape your croissants by rolling them from the wide end to the tip, before popping them onto baking trays.
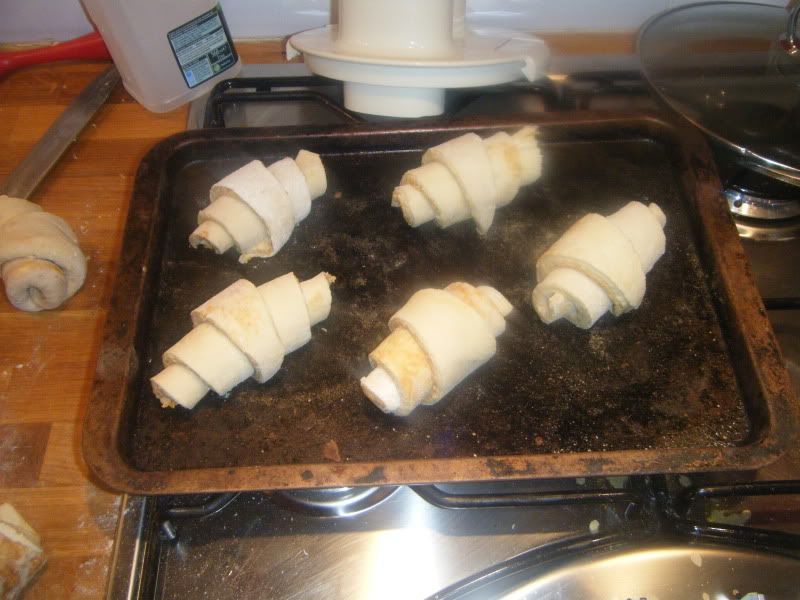
At this point you can freeze them for future nomming, or you can throw them into a hot oven for 15-20 minutes until they turn golden brown and tasty delicious.
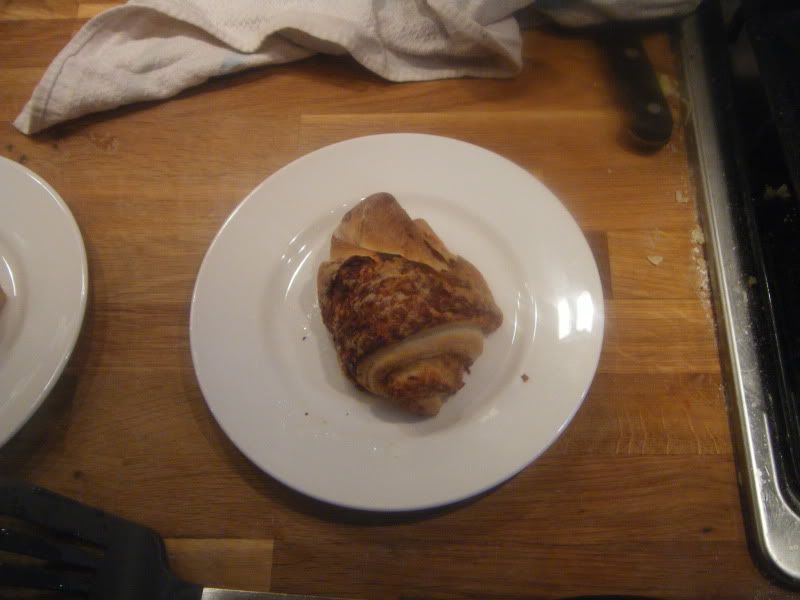
Either way, when you do cook them, make sure you eat them right away and don't think about the obscene amount of butter you're consuming...
You will need-
Milk.
Flour (note that this is just plain flour rather than white bread flour)
Yeast
A metric fuckton of butter. Well, maybe a packet or so

This will make you about 8-10 decent sized croissants.-
Take 1/2 a pint of milk and warm it to about body temperature, add about 50g of melted butter and stir in your sachet of yeast. Sprinkle some flour on the top and leave it to get started, this will take about 25-30 minutes.

Once this has started bubbling away and showing signs of life, add more flour and thoroughly incorporate it into a dough. Leave it for another 30-40 minutes or so to prove.

Once this has been done turn it out onto a well-floured surface and knead it well, incorporating more flour into it until you end up with a smooth, pliable dough.

Set this aside for another 30-40 minutes or so, or until it has about doubled in size.

Now the fun bit- turn your dough out onto a well floured surface and roll it out into a rectangle roughly twice as long as it is wide.

Now cover half of the dough with butter. There are several ways of doing this. The traditional method is to prepare your butter by pounding it with a tiny amount of flour until enough air has been incorporated to allow it to spread even when cold. Some people say you should melt and clarify your butter then re-refrigerate it as thin sheets on lined baking trays so you can simply cut off an appropriate sized sheet. Me, I cheat and take some butter that I've had sitting in the freezer for about 20 minutes over the rough holes of a box grater. There we are, dough covered, fuss saved.

Now simply fold your dough across, turn it 90 degrees, and roll it out again.

Repeat with the butter, folding and rolling a couple more times before mixing it up a little. On the 3rd roll I decided to add some tasty mature cheddar instead of butter-

And on the 4th some Marmite (protip- if you spoon it into a ramekin then microwave it for 10 seconds it spreads much more easily)

And some more cheese-

Then it's just a matter of rolling, folding and turning it a few more times. I'll be honest, I lost count of how many times I did it (I think around 8-10) but the more ties you do, the flakier your croissants will be. If at any point the dough starts to feel sticky and loose, just dust it with flour and pop it in the freezer for a few minutes to chill.
Anyway, once you're sick of rolling folding and turning, roll it out into a long oblong and start cutting it into triangles using a sharp knife or pizza cutter. Then shape your croissants by rolling them from the wide end to the tip, before popping them onto baking trays.


At this point you can freeze them for future nomming, or you can throw them into a hot oven for 15-20 minutes until they turn golden brown and tasty delicious.

Either way, when you do cook them, make sure you eat them right away and don't think about the obscene amount of butter you're consuming...
Friday 28 January 2011
Mushroom burger things
Well, after Wednesday's slightly maudlin interlude, it's back to some tasty recipes. I'm sharing this one, despite the fact that I utterly forgot to take pictures of any stage except the first one because Jennifer says this was a super-tasty dinner and it would be mean of me to keep the recipe to myself.
So, here you are- cheese stuffed mushroom burgers. For this you will need these things-

8 large Portobello Mushrooms
2 small / 1 medium onion
3-4 cloves of garlic
2 sticks celery
1 small leek
200g cream cheese (I have black pepper cream cheese here, but that's because that's all that was left in the shop)
100g strong cheddar.
Thyme and Oregano to taste.
Not pictured- Flour, egg and breadcrumbs for coating.
So, start by removing the stalks and skins from your mushrooms, then place as a single layer on 3-4 sheets of kitchen roll on a plate. Cover with another 3-4 sheets of kitchen roll, and place a heavy plate on top, then microwave them for 4 minutes. When they come out they should be cooked through and pliable, but be careful, they will also be scaldingly hot. Once you've done this with all of your mushrooms (working in batches) place them to one side and get started on your filling.
The filling is a simple matter of finely chopping all your vegetables and sweating them down with whatever herbs you decide to add in a spot of olive oil until they're soft and tasty. Then let them cool before adding your cheeses and mixing thoroughly.
Now take a mushroom and lay it on a piece of cling film, add whatever you deem to be a satisfactory amount of filling and top with another mushroom. Then wrap the cling film around it, twisting it tight to eliminate any air pockets and pop them in the fridge for 15-20 minutes to firm up a bit.
Once they've had a chance to chill a little unwrap from the cling film (very important!!) dust with flour and then coat with egg and breadcrumbs. I gave mine a double coat of egg and breadcrumb, just to make sure they were thoroughly covered.
Then it's a simple matter of cooking them. Either bake them in a hot oven for 15-20 minutes, flipping halfway until golden brown, or if you're confident that your egg and breadcrumb shell is comprehensively covering the insides you could deep fry them. either way serve with the roast / chipped / mashed potato of your choice and a spot of salad.
So, here you are- cheese stuffed mushroom burgers. For this you will need these things-
8 large Portobello Mushrooms
2 small / 1 medium onion
3-4 cloves of garlic
2 sticks celery
1 small leek
200g cream cheese (I have black pepper cream cheese here, but that's because that's all that was left in the shop)
100g strong cheddar.
Thyme and Oregano to taste.
Not pictured- Flour, egg and breadcrumbs for coating.
So, start by removing the stalks and skins from your mushrooms, then place as a single layer on 3-4 sheets of kitchen roll on a plate. Cover with another 3-4 sheets of kitchen roll, and place a heavy plate on top, then microwave them for 4 minutes. When they come out they should be cooked through and pliable, but be careful, they will also be scaldingly hot. Once you've done this with all of your mushrooms (working in batches) place them to one side and get started on your filling.
The filling is a simple matter of finely chopping all your vegetables and sweating them down with whatever herbs you decide to add in a spot of olive oil until they're soft and tasty. Then let them cool before adding your cheeses and mixing thoroughly.
Now take a mushroom and lay it on a piece of cling film, add whatever you deem to be a satisfactory amount of filling and top with another mushroom. Then wrap the cling film around it, twisting it tight to eliminate any air pockets and pop them in the fridge for 15-20 minutes to firm up a bit.
Once they've had a chance to chill a little unwrap from the cling film (very important!!) dust with flour and then coat with egg and breadcrumbs. I gave mine a double coat of egg and breadcrumb, just to make sure they were thoroughly covered.
Then it's a simple matter of cooking them. Either bake them in a hot oven for 15-20 minutes, flipping halfway until golden brown, or if you're confident that your egg and breadcrumb shell is comprehensively covering the insides you could deep fry them. either way serve with the roast / chipped / mashed potato of your choice and a spot of salad.
Wednesday 26 January 2011
My friend Wayne
Last year my friend Wayne was killed while on his way home on his motorbike by a drunk driver. Today would have been his birthday. Wayne was one of the most genuine, caring and downright nice people it has ever been my pleasure to know and I count myself honoured that he was my friend.
Rest in peace mate, we all miss you.
Rest in peace mate, we all miss you.
Subscribe to:
Posts (Atom)