So, I thought I'd start with one of the simplest things in the world- Bread! As someone who grew up with fresh bread being baked every week at home, I have to say I find people's aversion to making it somewhat odd. For some reason a lot of people think it's really complicated and hard, but it really is anything but. I mean, people have been making bread for thousands and thousands of years, if it was more effort than it was worth surely we'd have given up on it a long time ago?
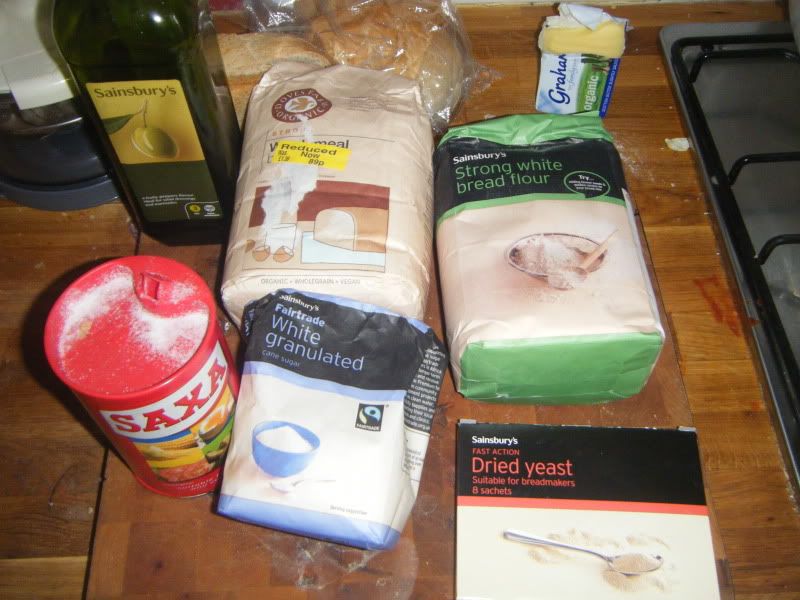
Anyway, here's your cast of characters- Yeast, bread flour (I like a mix of wholemeal and white, but really whatever floats your boat), salt, a little bit of sugar and olive oil. Not pictured- water. Pretty simple really.
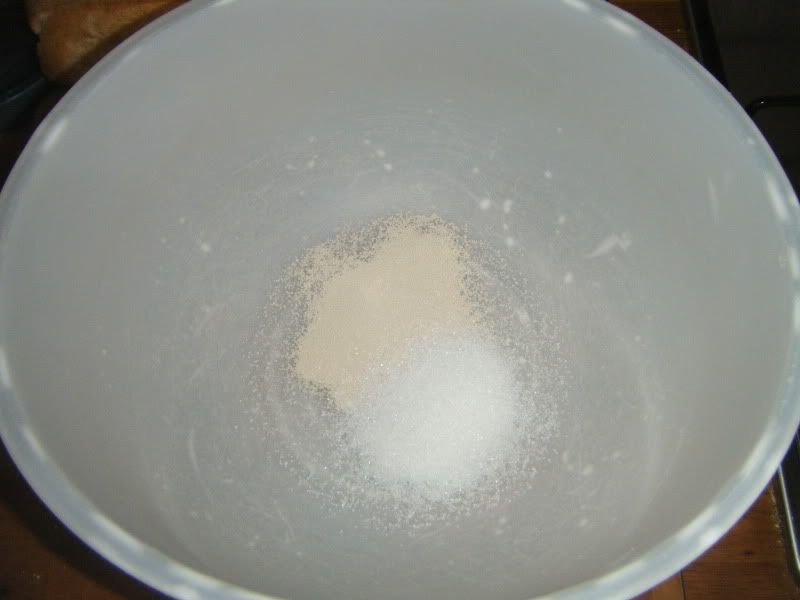
To start, throw your yeast and about the same amount of sugar into a bowl-
Add water. Now, this is the important part- it should be about body temperature. Test this by sticking a finger into it. It shouldn't feel hot or cold, just wet. Fiddle about with it until you get the right point then throw it in. This is also the step that determines how much bread you'll be making, I generally figure about 1/2 a pint of water makes 1 loaf of bread.
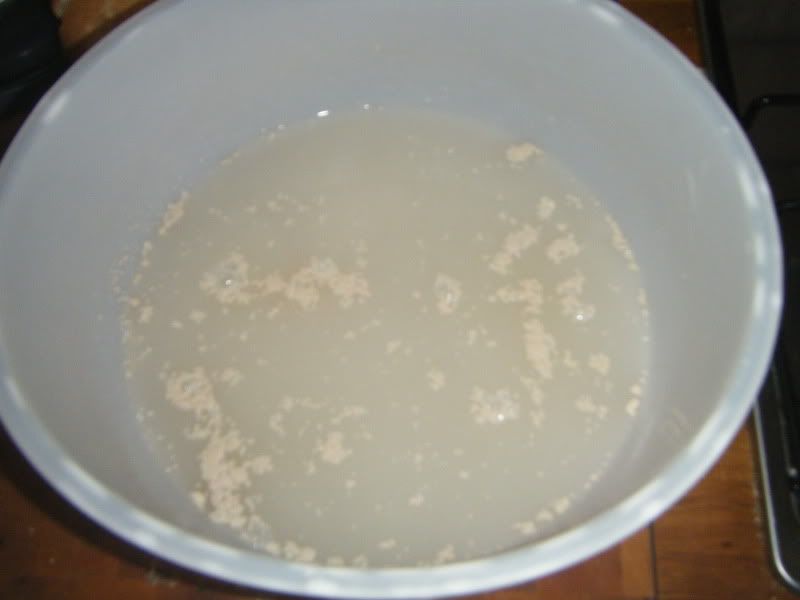
Sprinklle some flour over the top, cover with a clean tea towel and wander away, leaving it in a reasonably warm place for about 20-30 minutes so the yeast can get started.
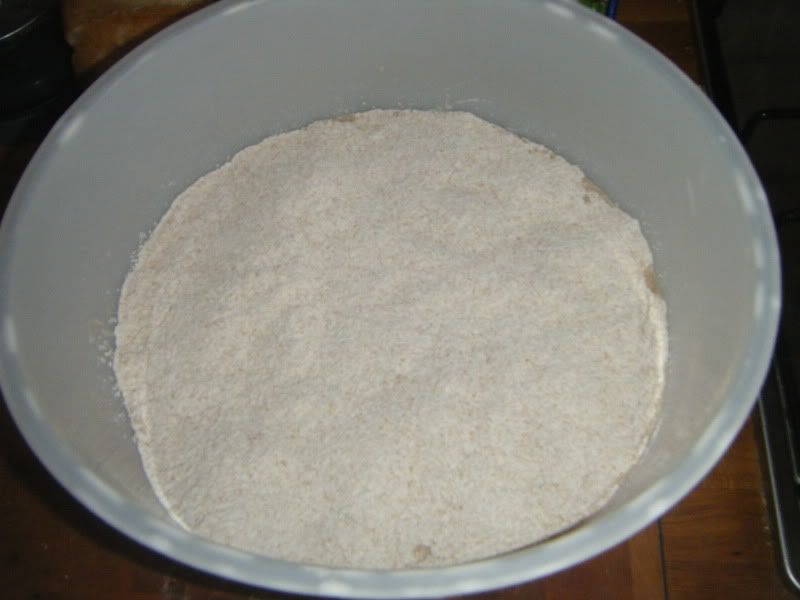
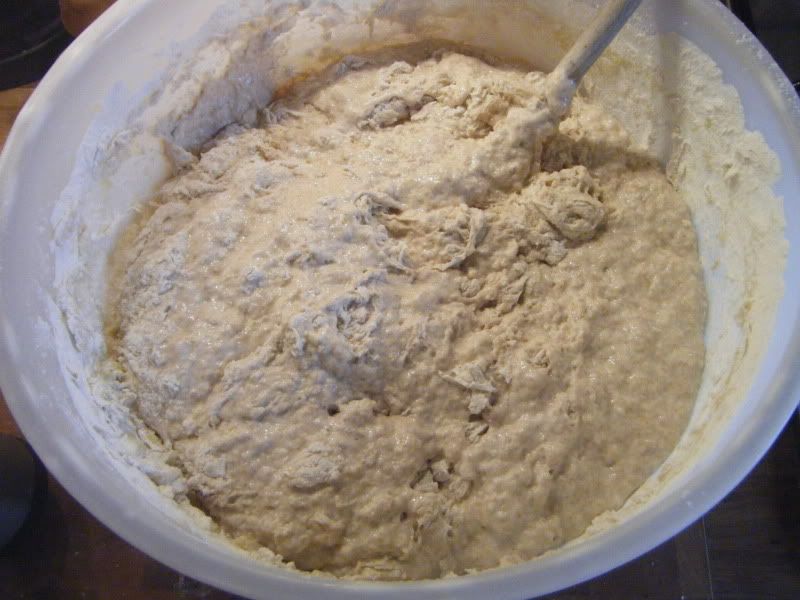
Once you get back it should be all bubbly and alive looking, so go ahead and dump a ton of flour in there. Just throw it in and mix it until you have what I would describe as a batter. Too thick to comfortably pour, but too wet to pick up. At this point add a generous slug of olive oil and some salt (about 4-5 tablespoons oil and 1 of salt per pint of water sounds about right) this isn't strictly speaking necessary, but I find it makes a world of difference to the end product. Cover it over again and wander away for a while. An hour sounds about right at this point.
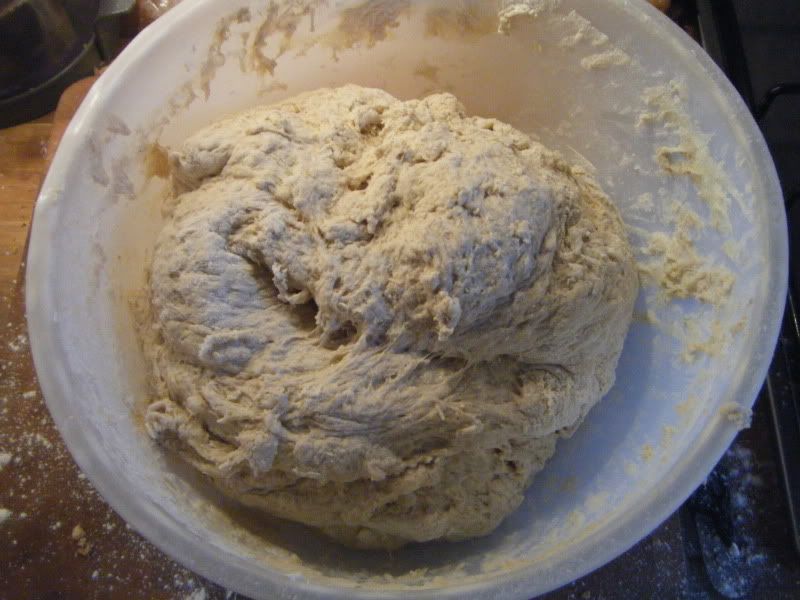
Right, now things start to get a bit messier. Start adding flour and mixing it in. A spoon is useless at this point, you're going to have to roll up your sleeves, wash your hands and get stuck in. Ideally halfway through this stage you should do what I did and realise that you don't have enough bread flour and go to the shops for some more.
But don't worry if you don't have to do that, I'm just including it to make myself feel better. Keep adding and mixing in the flour until you end up with a firm dough that feels dry to the touch and isn't overly sticky. Now you can flour your work surface and start kneading. It really is impossible to add too much flour to it, so be as generous as you want with it.
The point of kneading the dough is that you're stretching out all of the proteins in there, making it more elastic and malleable as you go. When you start the dough will want to tear very easily, but after a while it will start to feel more elastic and start stretching instead and will spring back if you poke it. This is the point where you can stop kneading if you want, or continue for a bit if you need some stress relief / a tricep workout.
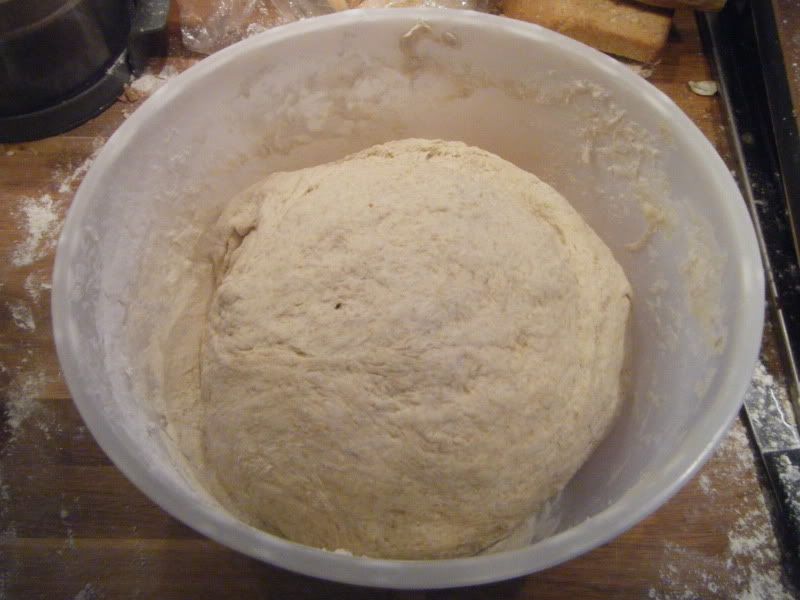
This is the same ball of dough, post-kneading and you can see that it's a much more uniform, smooth texture. It also feels a lot smoother to the touch than it did before kneading.
I like to rest the dough once more at this point, just for 30 minutes or so, then knock it back and cut it up into appropriate sized pieces for bread tins / rolls / pizza (I figure about 400g of dough makes 1 large pizza) if you are going to make pizza with it, I would highly recommend you pop the dough you're using for that in a bowl cover it with cling film and leave it in the fridge until the next day. The additional overnight fermentation makes the pizza dough extra-pliable meaning you can get lovely thin crispy crusts, but it does make it taste a bit off for normal bread. Tastes great as pizza crust though.
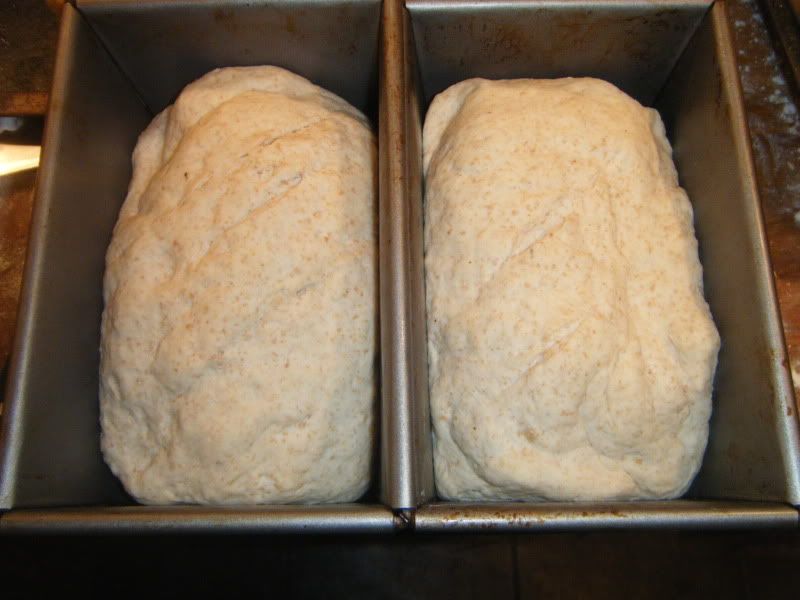
Let these rise for about 30-40 minutes then pop them into a hot oven. I usually go for around 230 for about 25 minutes, then check them, the tops should be nicely golden brown, at which point turn them out of the tins, or just turn them over if you don't have bread tins and let the bottom firm up for another 15-20 minutes until an even colour and a tap on the base makes a nice hollow sound.
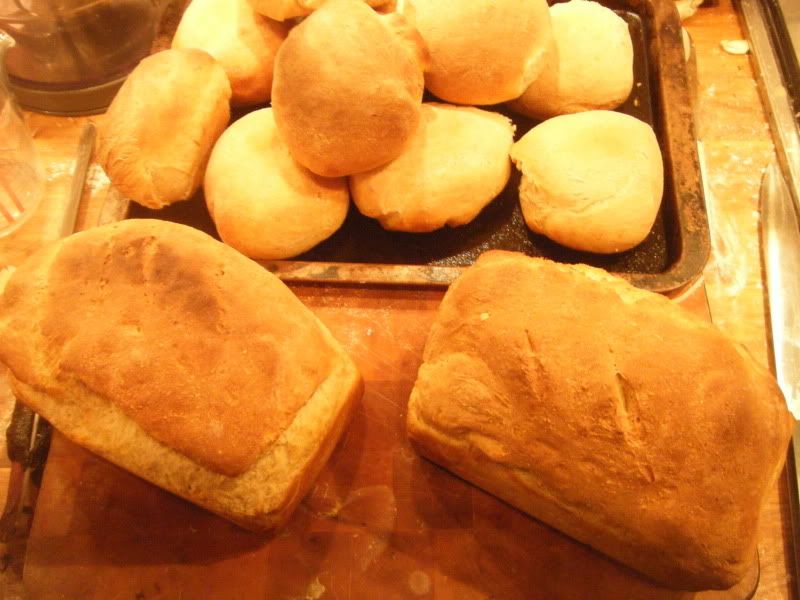
Let it cool a little before you dive in and start nomming it all. If you can.
Keep up the good work. I will try this out later, and tell you the results!
ReplyDeleteThis reminds me of your step-by-step photos in the Gorum!
ReplyDelete