Friday 28 January 2011

Mushroom burger things

Well, after Wednesday's slightly maudlin interlude, it's back to some tasty recipes. I'm sharing this one, despite the fact that I utterly forgot to take pictures of any stage except the first one because Jennifer says this was a super-tasty dinner and it would be mean of me to keep the recipe to myself.
So, here you are- cheese stuffed mushroom burgers. For this you will need these things-


8 large Portobello Mushrooms
2 small / 1 medium onion
3-4 cloves of garlic
2 sticks celery
1 small leek
200g cream cheese (I have black pepper cream cheese here, but that's because that's all that was left in the shop)
100g strong cheddar.
Thyme and Oregano to taste.

Not pictured- Flour, egg and breadcrumbs for coating.

So, start by removing the stalks and skins from your mushrooms, then place as a single layer on 3-4 sheets of kitchen roll on a plate. Cover with another 3-4 sheets of kitchen roll, and place a heavy plate on top, then microwave them for 4 minutes. When they come out they should be cooked through and pliable, but be careful, they will also be scaldingly hot. Once you've done this with all of your mushrooms (working in batches) place them to one side and get started on your filling.
The filling is a simple matter of finely chopping all your vegetables and sweating them down with whatever herbs you decide to add in a spot of olive oil until they're soft and tasty. Then let them cool before adding your cheeses and mixing thoroughly.
Now take a mushroom and lay it on a piece of cling film, add whatever you deem to be a satisfactory amount of filling and top with another mushroom. Then wrap the cling film around it, twisting it tight to eliminate any air pockets and pop them in the fridge for 15-20 minutes to firm up a bit.
Once they've had a chance to chill a little unwrap from the cling film (very important!!) dust with flour and then coat with egg and breadcrumbs. I gave mine a double coat of egg and breadcrumb, just to make sure they were thoroughly covered.
Then it's a simple matter of cooking them. Either bake them in a hot oven for 15-20 minutes, flipping halfway until golden brown, or if you're confident that your egg and breadcrumb shell is comprehensively covering the insides you could deep fry them. either way serve with the roast / chipped / mashed potato of your choice and a spot of salad.

Wednesday 26 January 2011

My friend Wayne

Last year my friend Wayne was killed while on his way home on his motorbike by a drunk driver. Today would have been his birthday. Wayne was one of the most genuine, caring and downright nice people it has ever been my pleasure to know and I count myself honoured that he was my friend.
Rest in peace mate, we all miss you.

Monday 24 January 2011

Spicy tasty stew.

Today's dinner was a spicy, Caribbean-inspired fish stew and I thought I would share it with you. Because it's delicious.

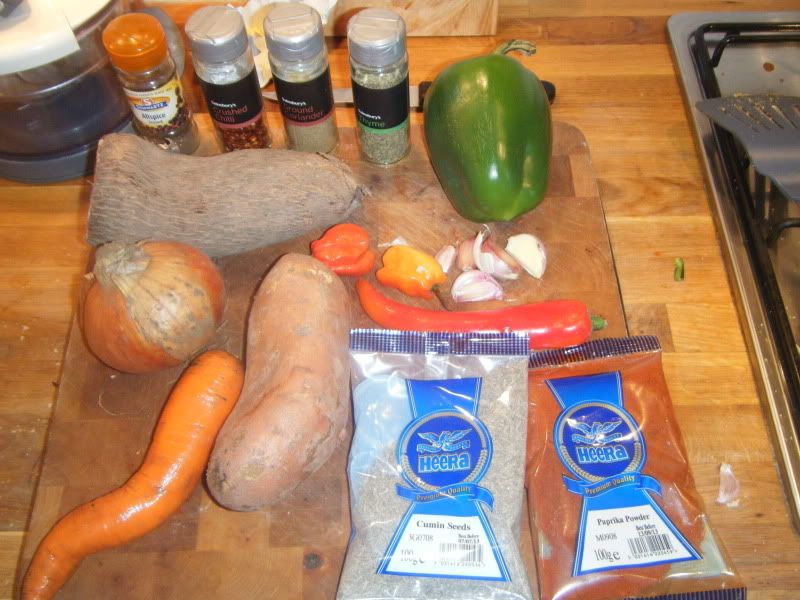
So anyway, here's most of your cast of characters-


We have, onion, garlic, carrot, sweet potato, green pepper, scotch bonnet chilli, plain old red chilli and that big knobbly root veg on the top left is a yam. Or Taro, depending on where you're from. Also there are thyme, cumin, dried chilli (which I ended up not using), coriander seed, paprika and most importantly allspice.
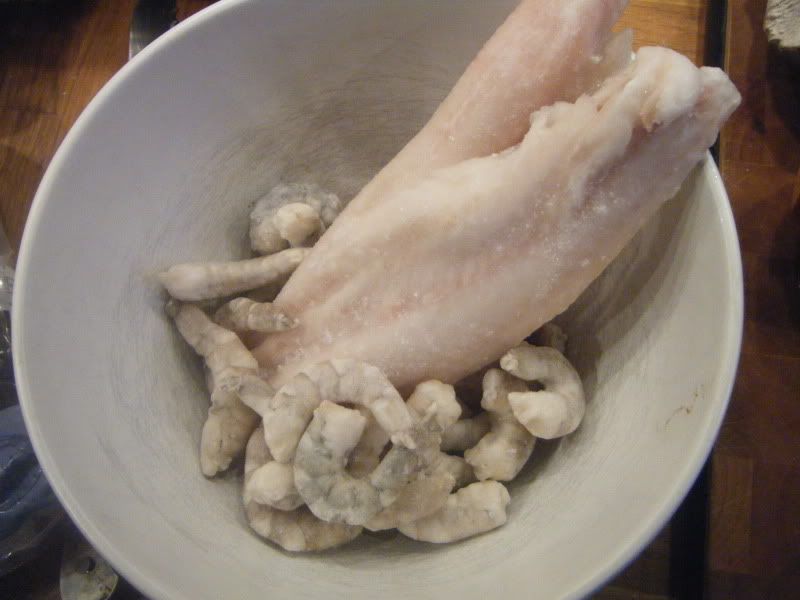
Of course, this is a fish stew, so it will need some fish. to fulfil that requirement I defrosted some prawns and a couple of fillets of "white fish" which turned out to be Hoki when I inspected the packet. Nice fish, good flavour, nice meaty texture. I would recommend it in place of cod / haddock given the latter's diminishing stocks.
Anyway, pop those in a bowl and throw on some water to help them defrost and put them to one side. You shan't be needing them for now.
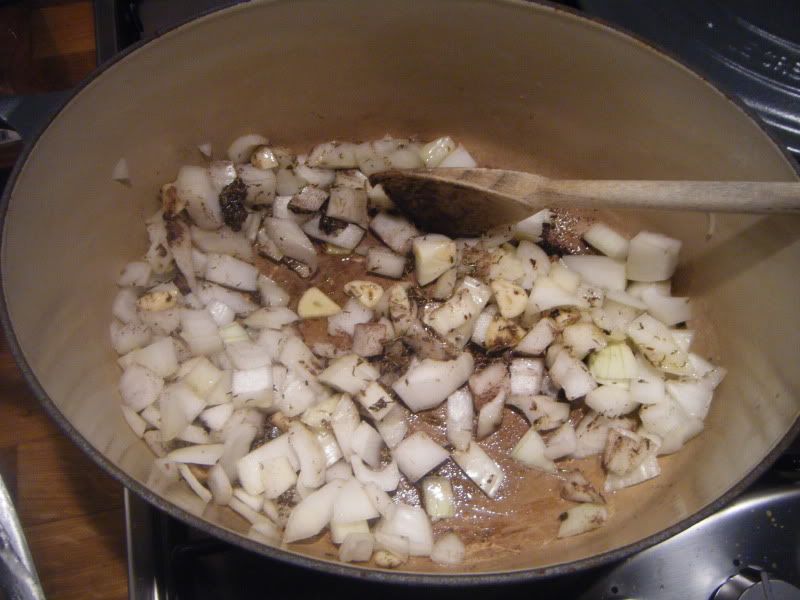
To get started properly, in a nice large pan with a good slug of olive oil in it, add (roughly) 1 teaspoon each of thyme, cumin and coriander and 2 of allspice, along with the garlic and onion, quite roughly chopped. Get these going over a medium-high heat so that things start to sizzle a bit.
Meanwile (while of course making sure you stir occasionally so that things don't burn) deseed and finely chop your chillies and throw them in-
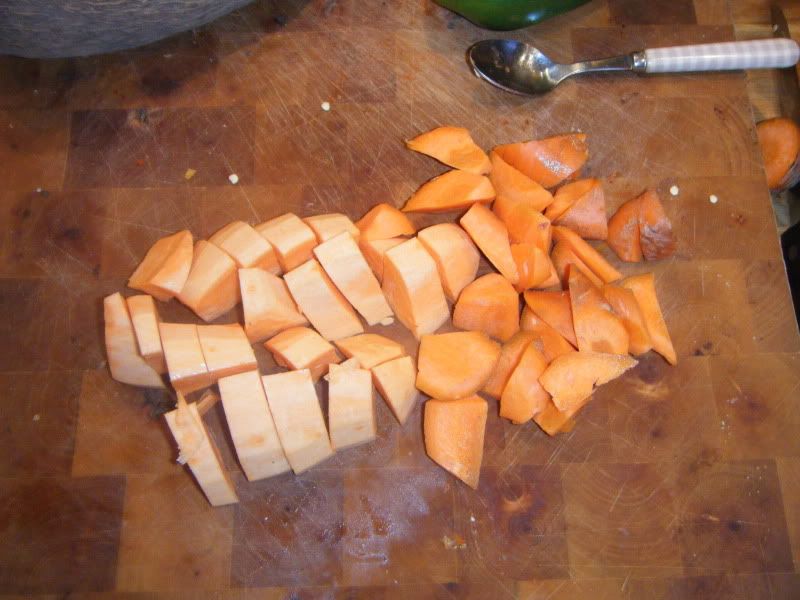
 and roughly dice your carrot and sweet potato and throw those in as well-
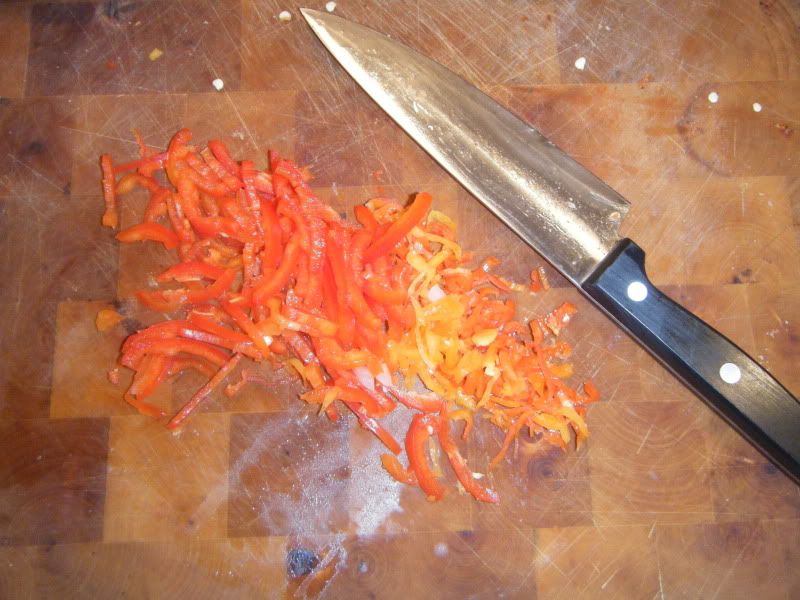
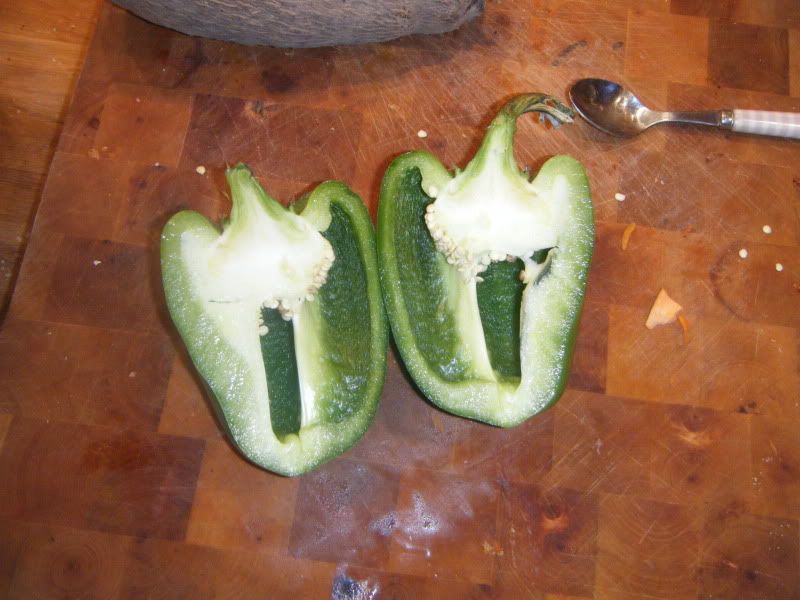
Now, one thing that really bugs me is that everyone seems to deseed a pepper in a different way, and as far as I'm concerned everyone does it wrongly. You don't need to hack the entire end off, or run the knife round it like a wheel, losing the entire bottom of it, just chop it in half from top to bottom like so-


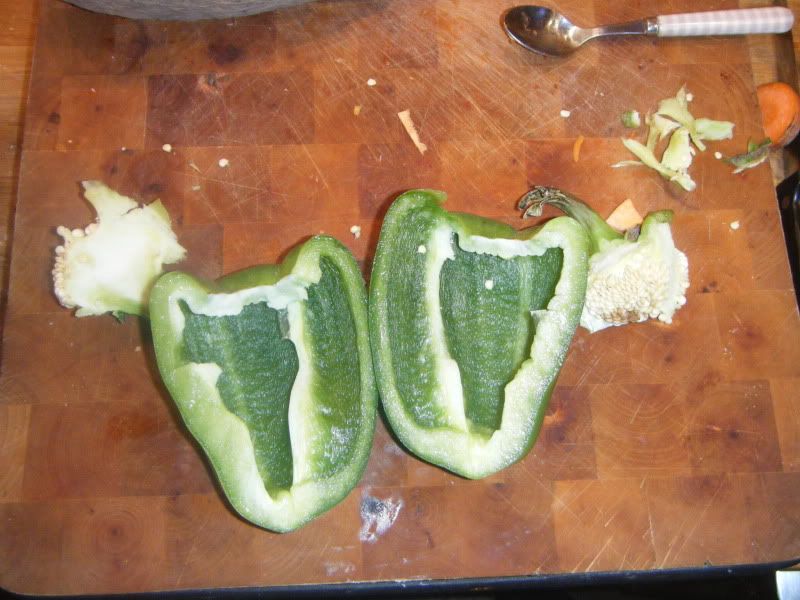
then pull out the top and the white membrane with your fingers, like so-


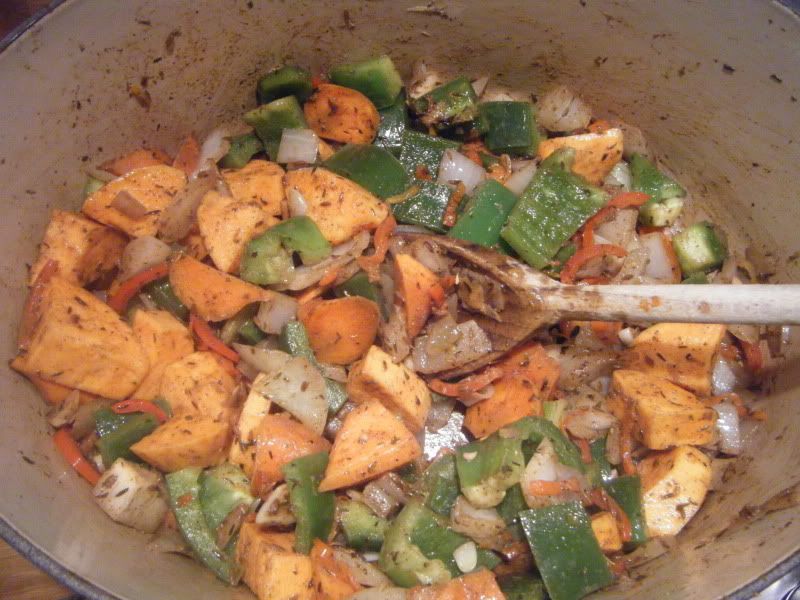
and the job's a good'un. For some reason there are dozens of increasingly complicated and stupid ways of doing that floating about out there, most of which involve throwing away about 1/4 of the pepper. Which annoys me. Anyway, dice that up and throw it in as well, by this point things should be starting to smell pretty good


and once the onions and carrots have softened up a bit, throw in enough liquid to cover them and set it over a low heat to simmer for a while. Chicken or vegetable stock is good, fish stock would be even better, but if you don't have any of those to hand, just use water, it'll still turn out good.
also at this point you want to add your yam. Take care to peel it thoroughly, then rinse it under running water to get rid of any lingering bits of skin. Yes, it will feel really slimy and horrible to the touch, but trust me, this stuff is delicious. Just dice it up and bung it in the pot with everything else. One thing though- add the yam to the pot after you've added the liquid, otherwise it will turn hard and nasty rather than silky and delicious.
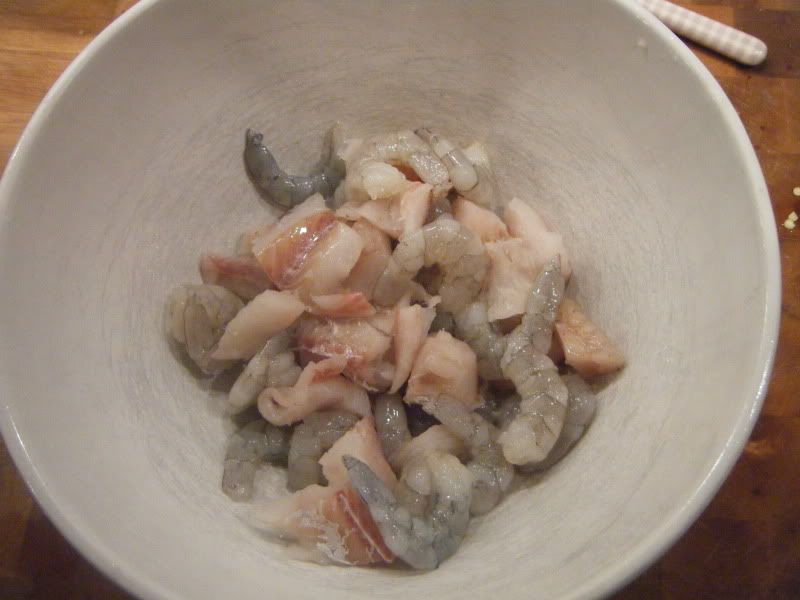
Now back to the fish. Once it's defrosted enough to chop up, divide it into what I would describe as "large bite" sizes, then throw on a good helping of salt (remember at this point it's not been seasoned at all so you can be pretty generous) and leave it for 5-10 minutes.


Now squeeze off any excess moisture and throw some seasoning on there. I put (onto 200g each of fish and prawns) 3tsp of allspice, 2 tsp of paprika and 2 tsp of thyme. Then it's time for the secret ingredient-


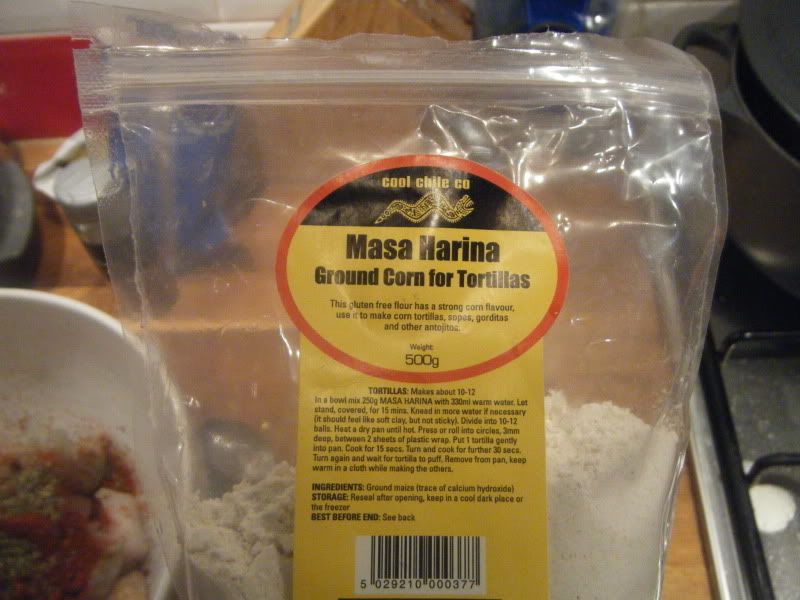
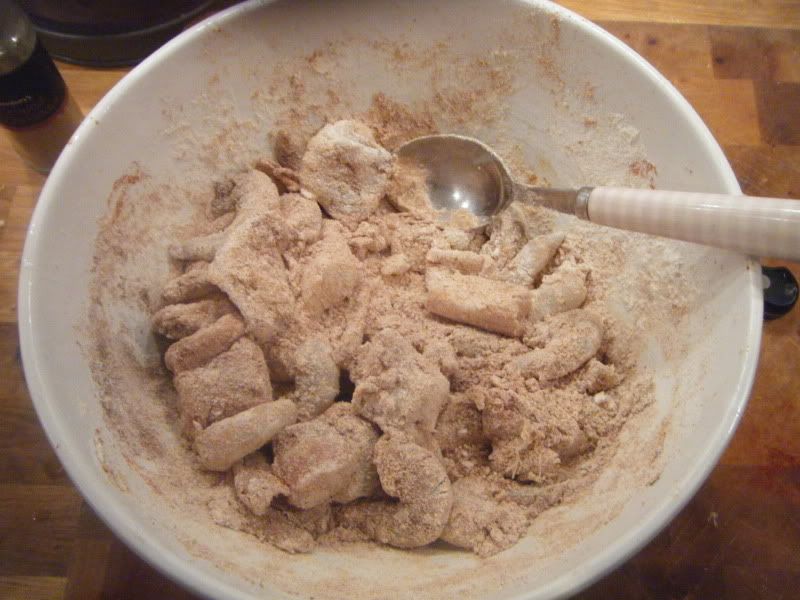
this stuff is corn meal. Note- not corn flour. Throw 2-3 tablespoons of this stuff onto the fish and toss it about to make sure everything's well coated.

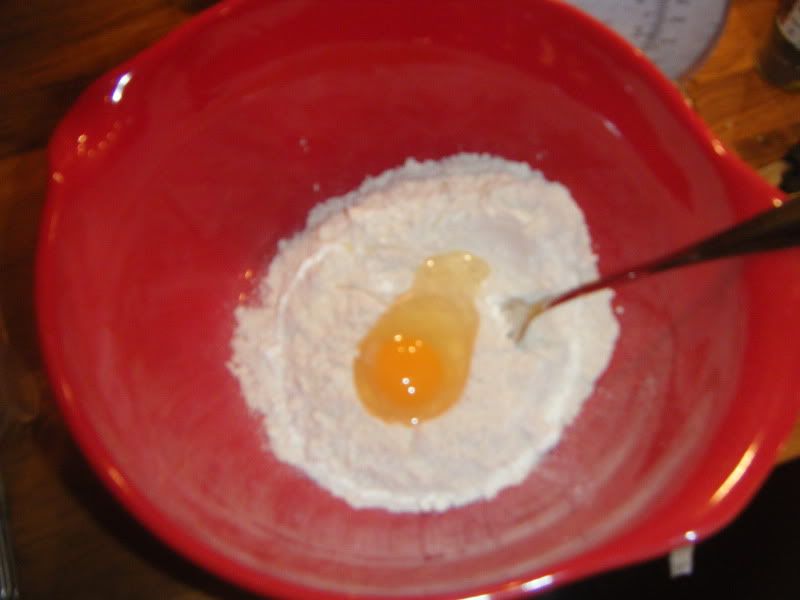
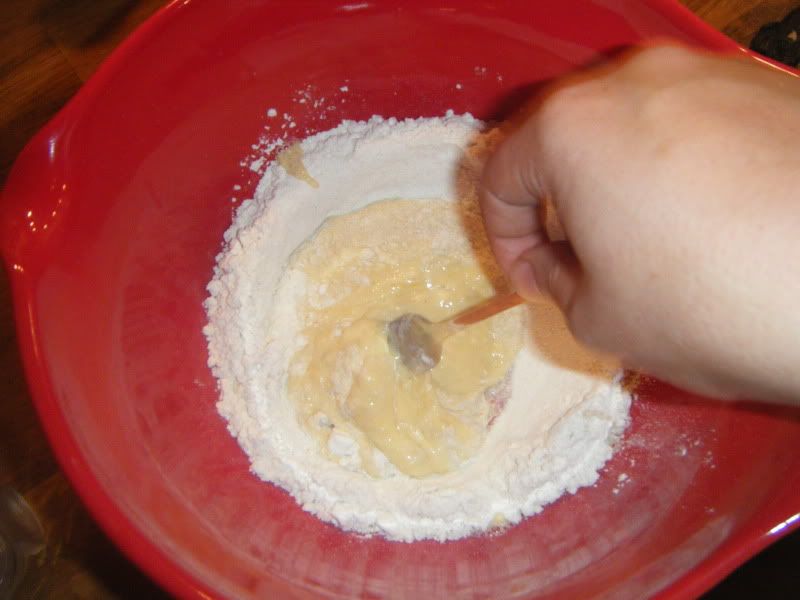
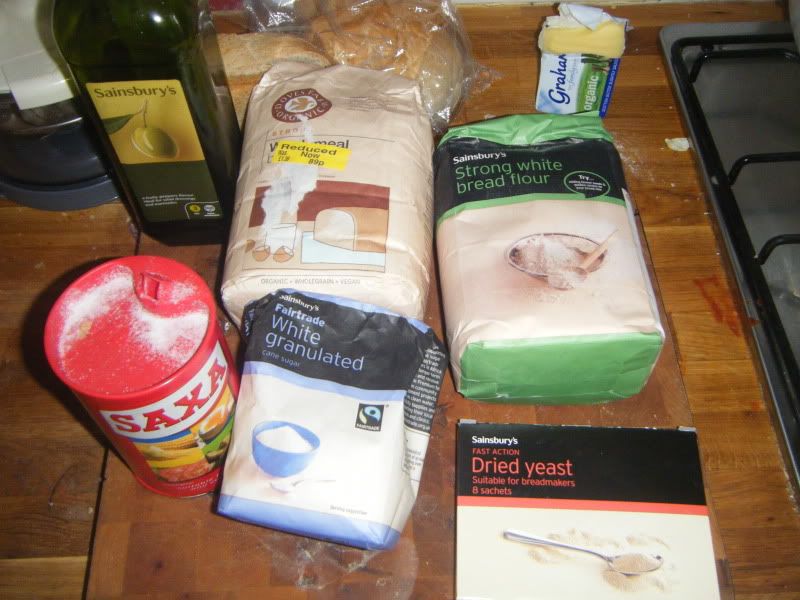
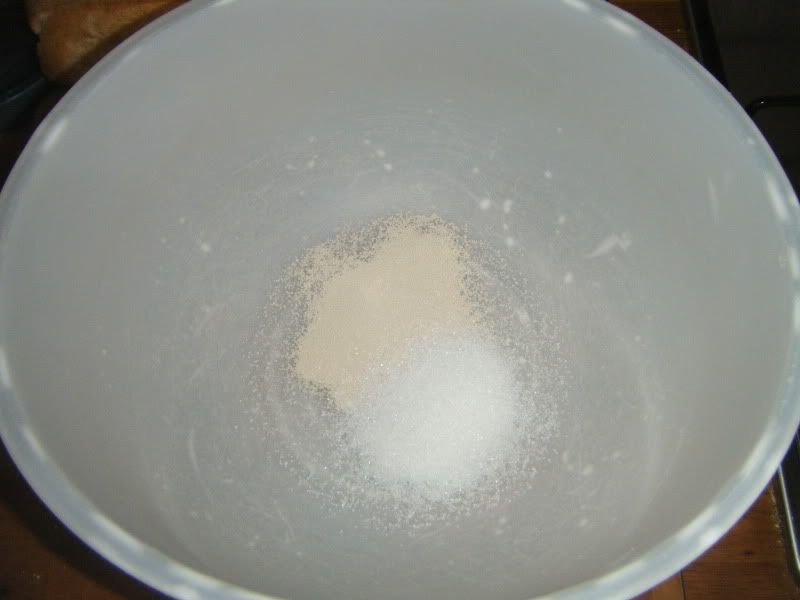
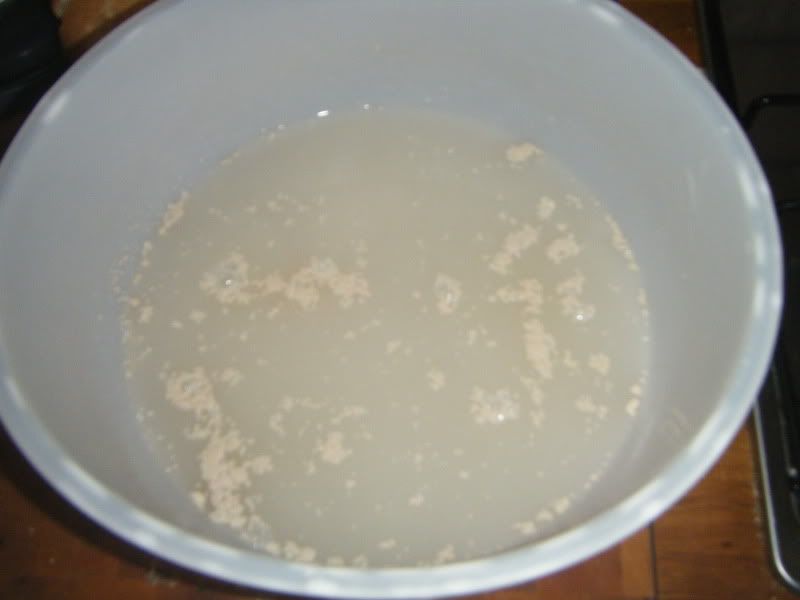
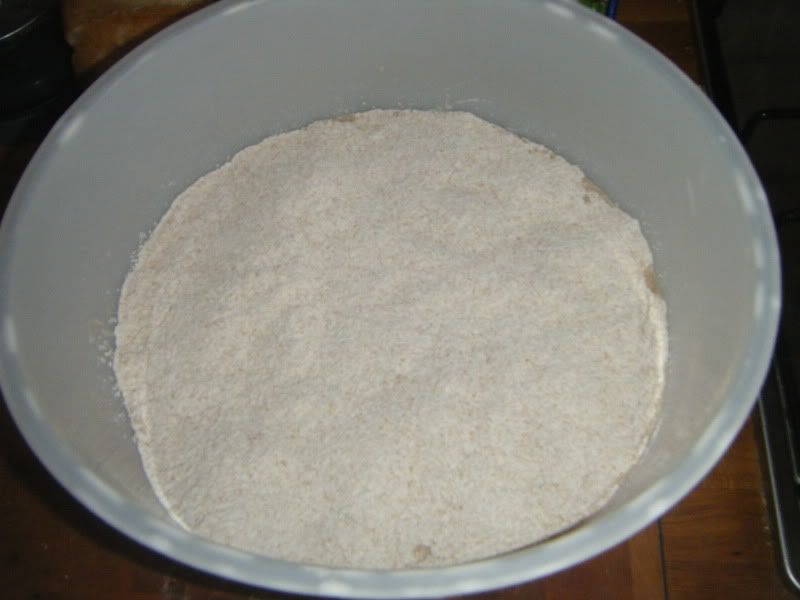
While you've got the corn meal out, you may as well also make some tasty corn breads to go with the stew. Simply put 100g each of corn meal and plain flour in a bowl and add a pinch of salt and an egg


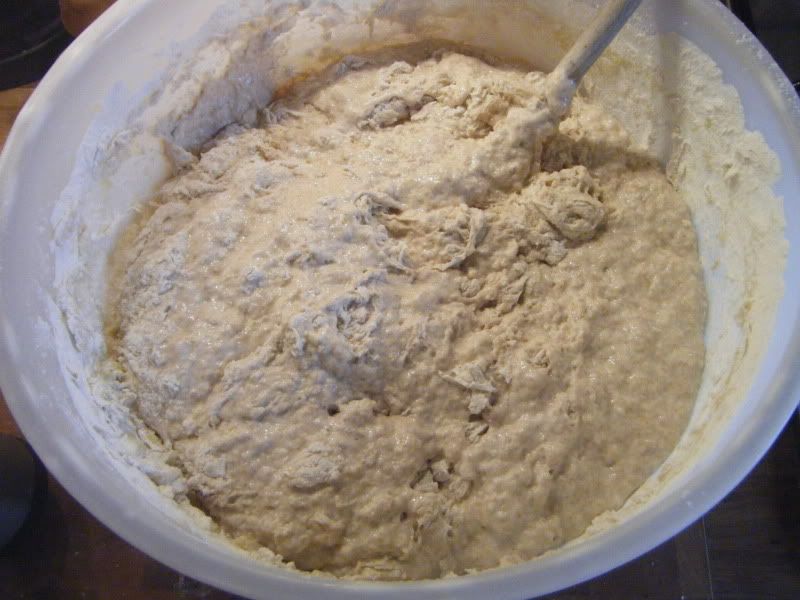
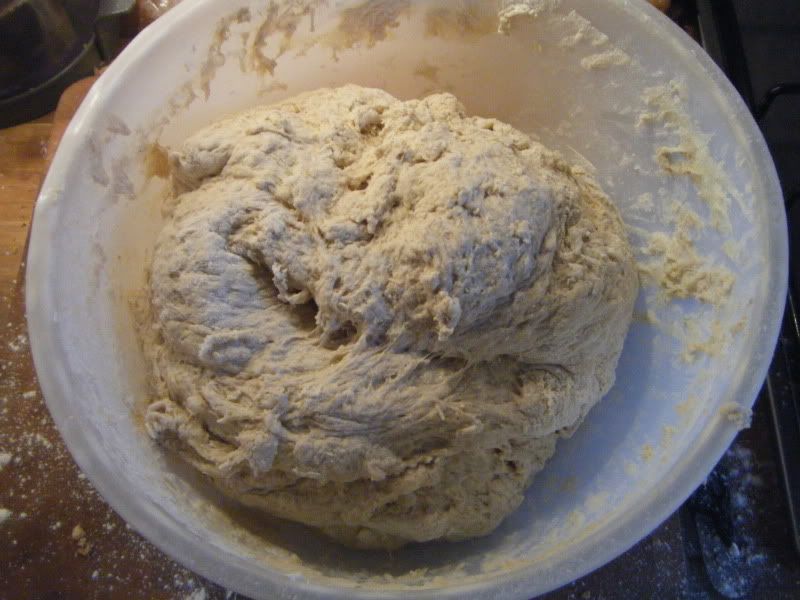
Now mix it all up, adding water until you get a thick consistency, like that of double cream-


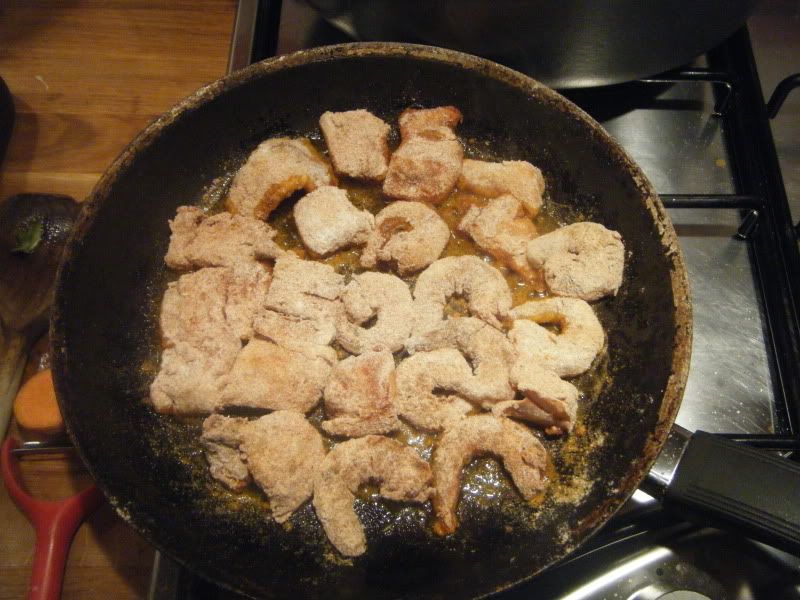
Action shot! Anyway, set this aside while you fry the fish over a medium heat in batches


Until golden brown and tasty looking.


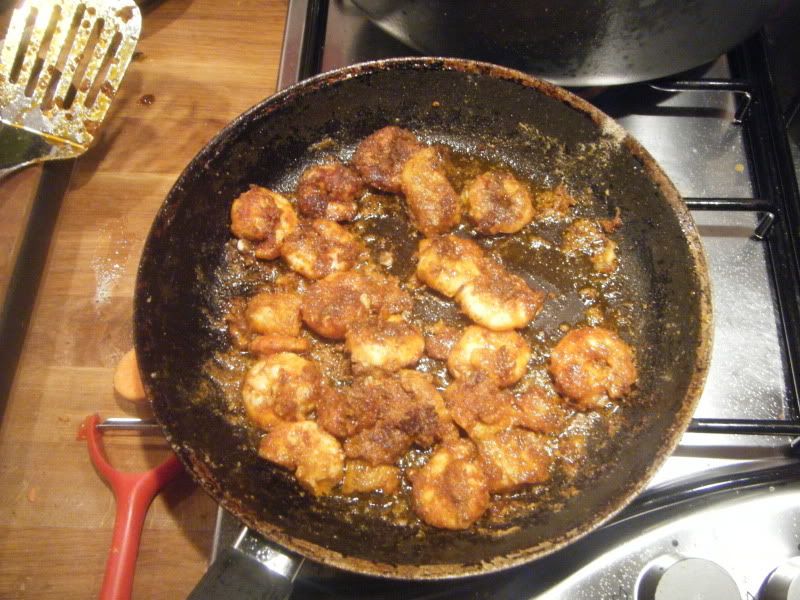
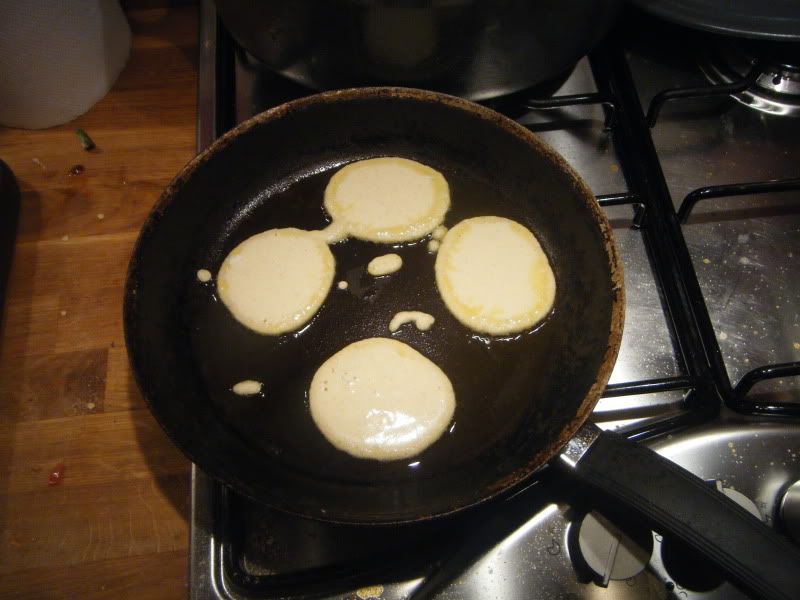
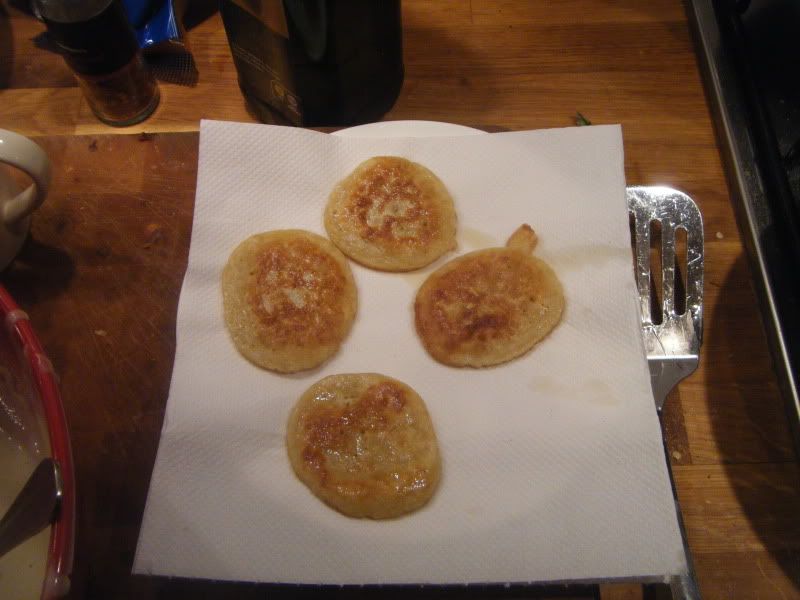
Once you're done with the fish add a spot more oil to your pan and toss in the excess corn meal and spices the fish was in to make a roux to thicken the stew with and throw it all into the gently simmering pot. Cover it with a lid and let that bubble away a bit longer as you prepare the final step, which is simply frying the corn breads in a little oil. Now by this point the batter should have thickened up a little, so sprinkle in a teaspoon of baking powder and mix that in, before spooning the mix into the medium-hot pan to cook-


Flip them over when golden brown and transfer them to some kitchen roll when done on both sides, just to absorb any excess oil.
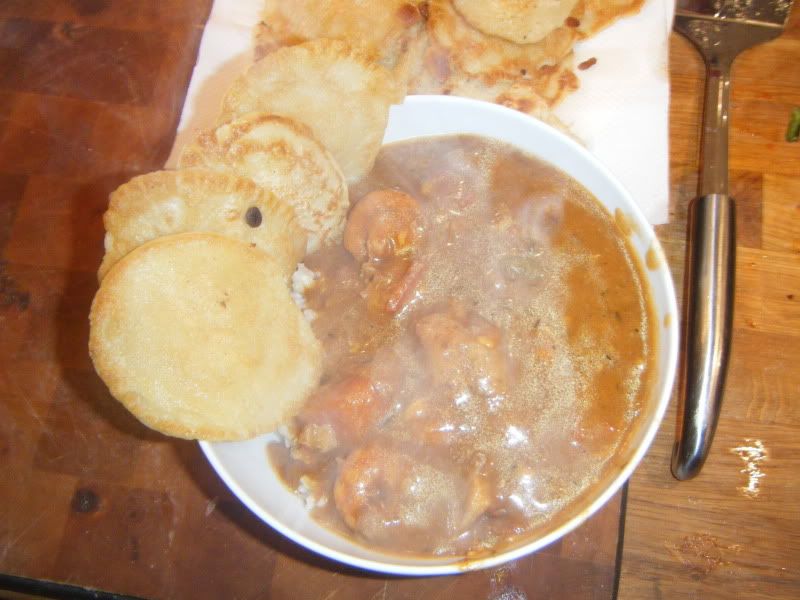
Then it's just a case of serving it up and eating it. I also did some rice to go with it, but I'm going to go ahead and assume that you know how to cook rice.

I'll admit, it doesn't look incredibly appetising there, but what do you expect? It's stew. It smells and tastes delicious and warms you up on a cold day like today. 

Sunday 23 January 2011

So. A blog...

So, I decided in my attempts this year to actually do more crap, that I would start a blog. Mainly it'll just be me blathering on about my day, whatever thoughts cross my tiny childlike mind and what I've been cooking. Expect a lot of that last part as it's pretty much the only vaguely interesting thing I do at the moment..
So, I thought I'd start with one of the simplest things in the world- Bread! As someone who grew up with fresh bread being baked every week at home, I have to say I find people's aversion to making it somewhat odd. For some reason a lot of people think it's really complicated and hard, but it really is anything but. I mean, people have been making bread for thousands and thousands of years, if it was more effort than it was worth surely we'd have given up on it a long time ago?

Anyway, here's your cast of characters- Yeast, bread flour (I like a mix of wholemeal and white, but really whatever floats your boat), salt, a little bit of sugar and olive oil. Not pictured- water. Pretty simple really.


To start, throw your yeast and about the same amount of sugar into a bowl-


Add water. Now, this is the important part- it should be about body temperature. Test this by sticking a finger into it. It shouldn't feel hot or cold, just wet. Fiddle about with it until you get the right point then throw it in. This is also the step that determines how much bread you'll be making, I generally figure about 1/2 a pint of water makes 1 loaf of bread.


Sprinklle some flour over the top, cover with a clean tea towel and wander away, leaving it in a reasonably warm place for about 20-30 minutes so the yeast can get started.


Once you get back it should be all bubbly and alive looking, so go ahead and dump a ton of flour in there. Just throw it in and mix it until you have what I would describe as a batter. Too thick to comfortably pour, but too wet to pick up. At this point add a generous slug of olive oil and some salt (about 4-5 tablespoons oil and 1 of salt per pint of water sounds about right) this isn't strictly speaking necessary, but I find it makes a world of difference to the end product. Cover it over again and wander away for a while. An hour sounds about right at this point.


Right, now things start to get a bit messier. Start adding flour and mixing it in. A spoon is useless at this point, you're going to have to roll up your sleeves, wash your hands and get stuck in. Ideally halfway through this stage you should do what I did and realise that you don't have enough bread flour and go to the shops for some more.


But don't worry if you don't have to do that, I'm just including it to make myself feel better. Keep adding and mixing in the flour until you end up with a firm dough that feels dry to the touch and isn't overly sticky. Now you can flour your work surface and start kneading. It really is impossible to add too much flour to it, so be as generous as you want with it.


The point of kneading the dough is that you're stretching out all of the proteins in there, making it more elastic and malleable as you go. When you start the dough will want to tear very easily, but after a while it will start to feel more elastic and start stretching instead and will spring back if you poke it. This is the point where you can stop kneading if you want, or continue for a bit if you need some stress relief / a tricep workout.


This is the same ball of dough, post-kneading and you can see that it's a much more uniform, smooth texture. It also feels a lot smoother to the touch than it did before kneading. 
I like to rest the dough once more at this point, just for 30 minutes or so, then knock it back and cut it up into appropriate sized pieces for bread tins / rolls / pizza (I figure about 400g of dough makes 1 large pizza) if you are going to make pizza with it, I would highly recommend you pop the dough you're using for that in a bowl cover it with cling film and leave it in the fridge until the next day. The additional overnight fermentation makes the pizza dough extra-pliable meaning you can get lovely thin crispy crusts, but it does make it taste a bit off for normal bread. Tastes great as pizza crust though.


Let these rise for about 30-40 minutes then pop them into a hot oven. I usually go for around 230 for about 25 minutes, then check them, the tops should be nicely golden brown, at which point turn them out of the tins, or just turn them over if you don't have bread tins and let the bottom firm up for another 15-20 minutes until an even colour and a tap on the base makes a nice hollow sound.


Let it cool a little before you dive in and start nomming it all. If you can.